


Comparison
Redmineflux vs Trello: How to Choose Project Management Tool in 2023
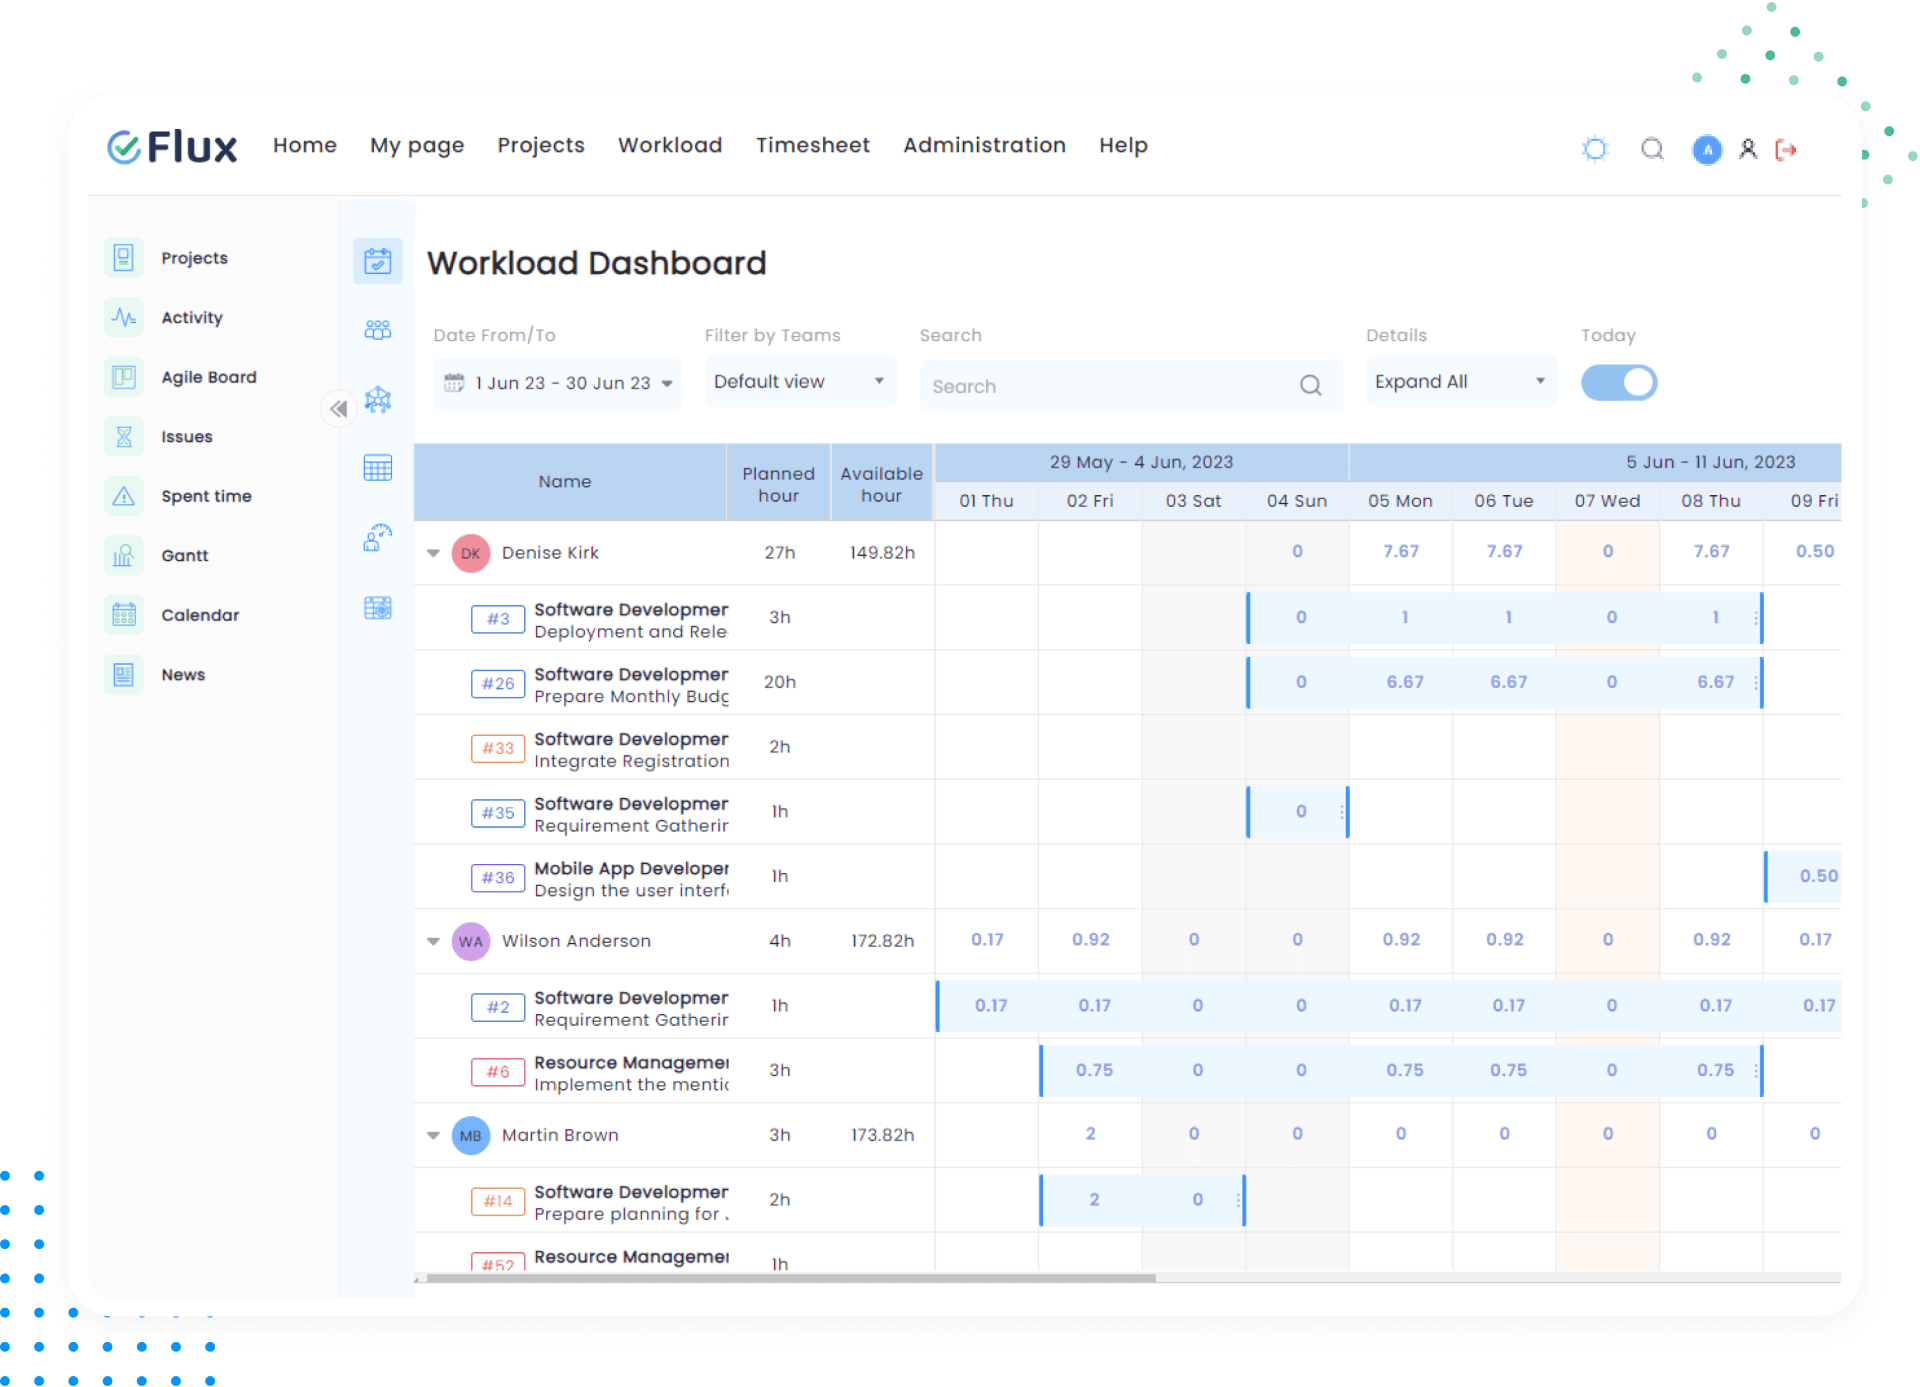
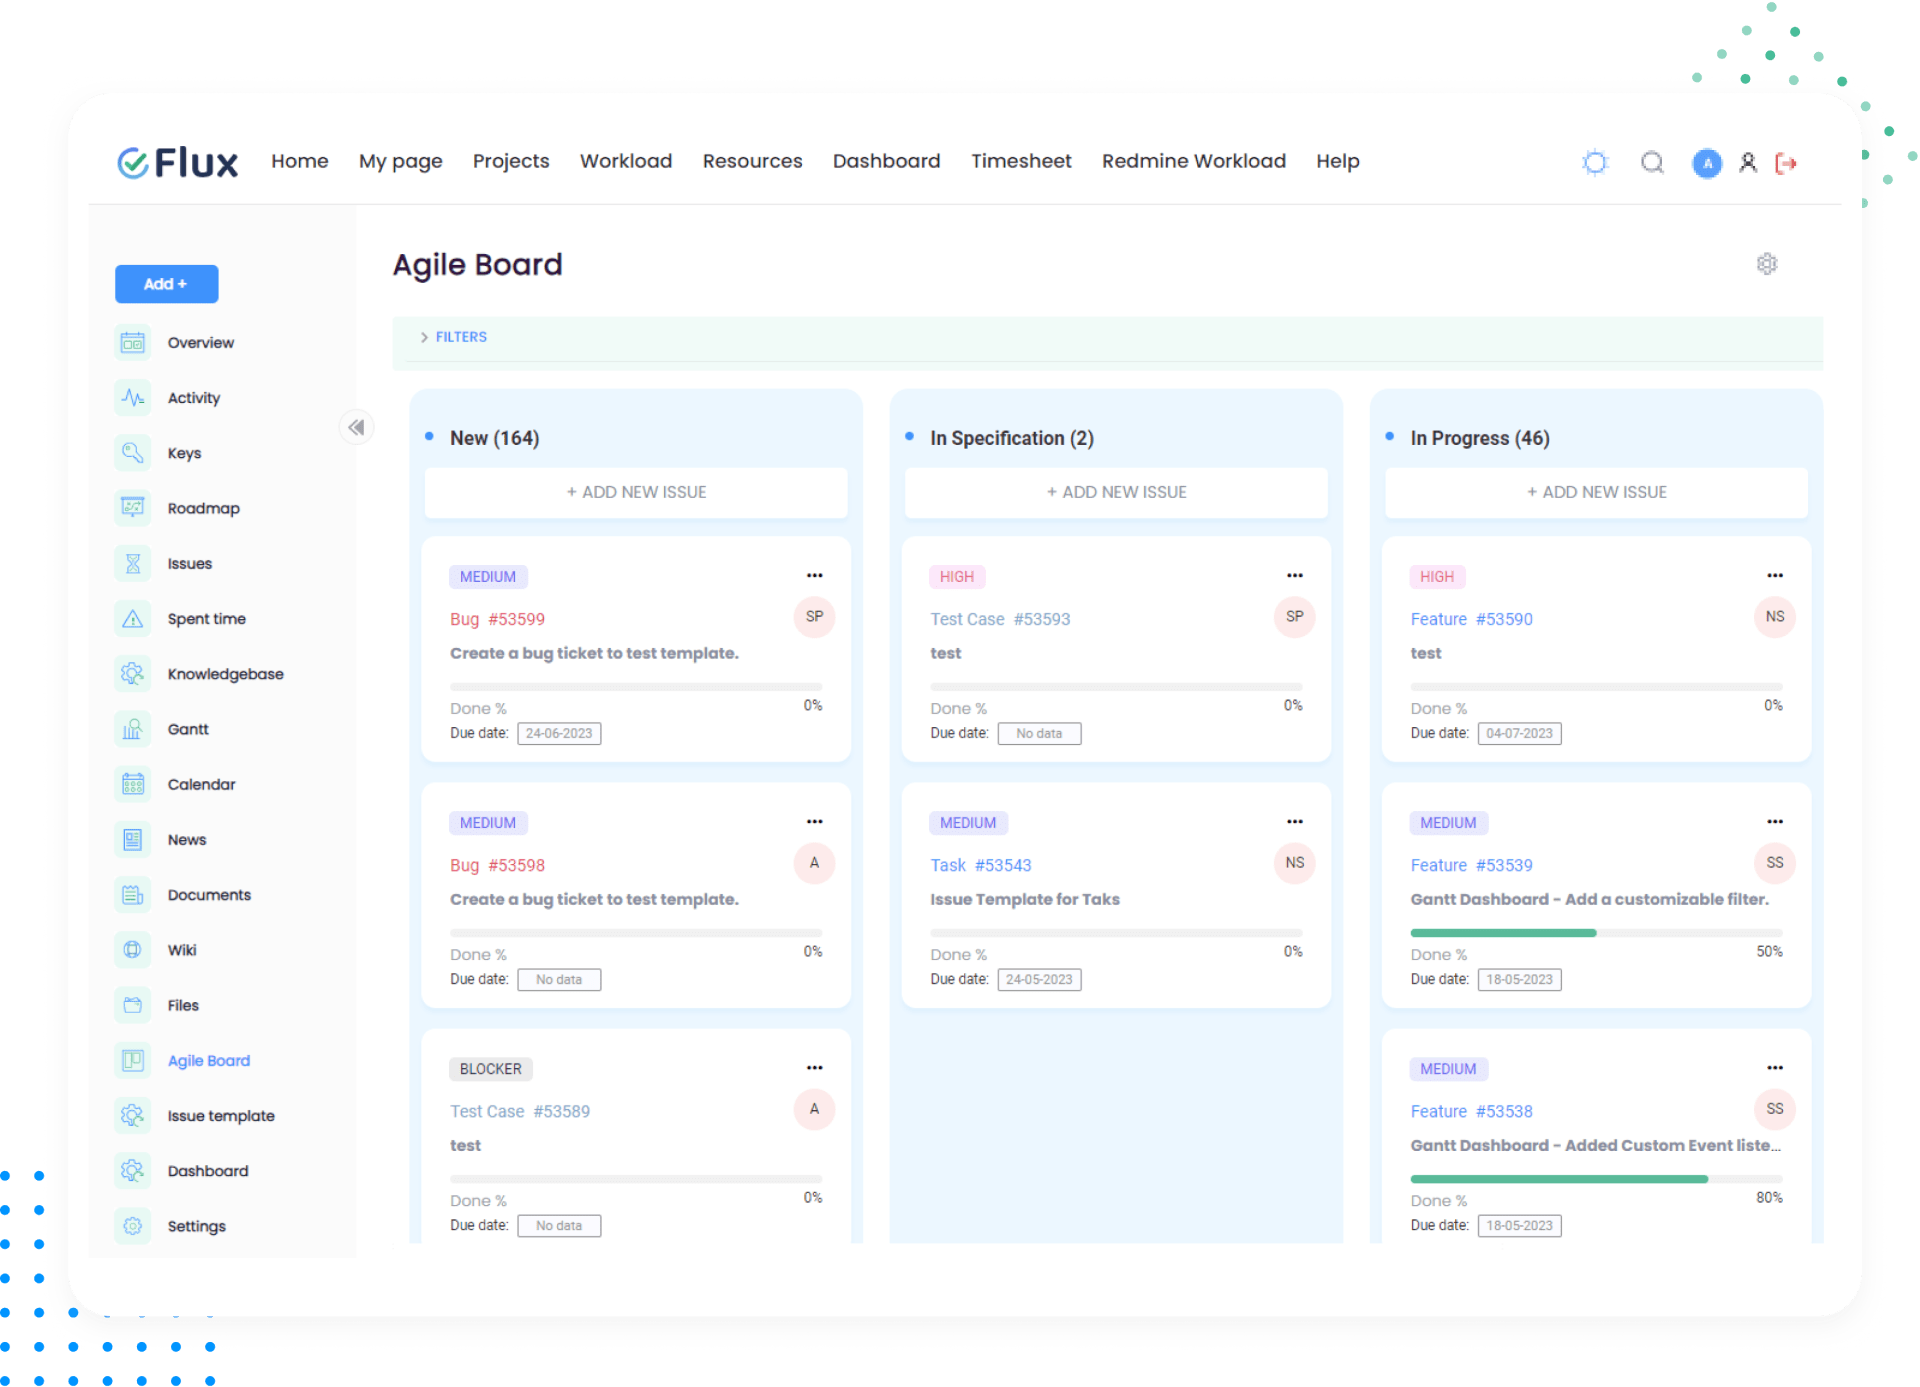
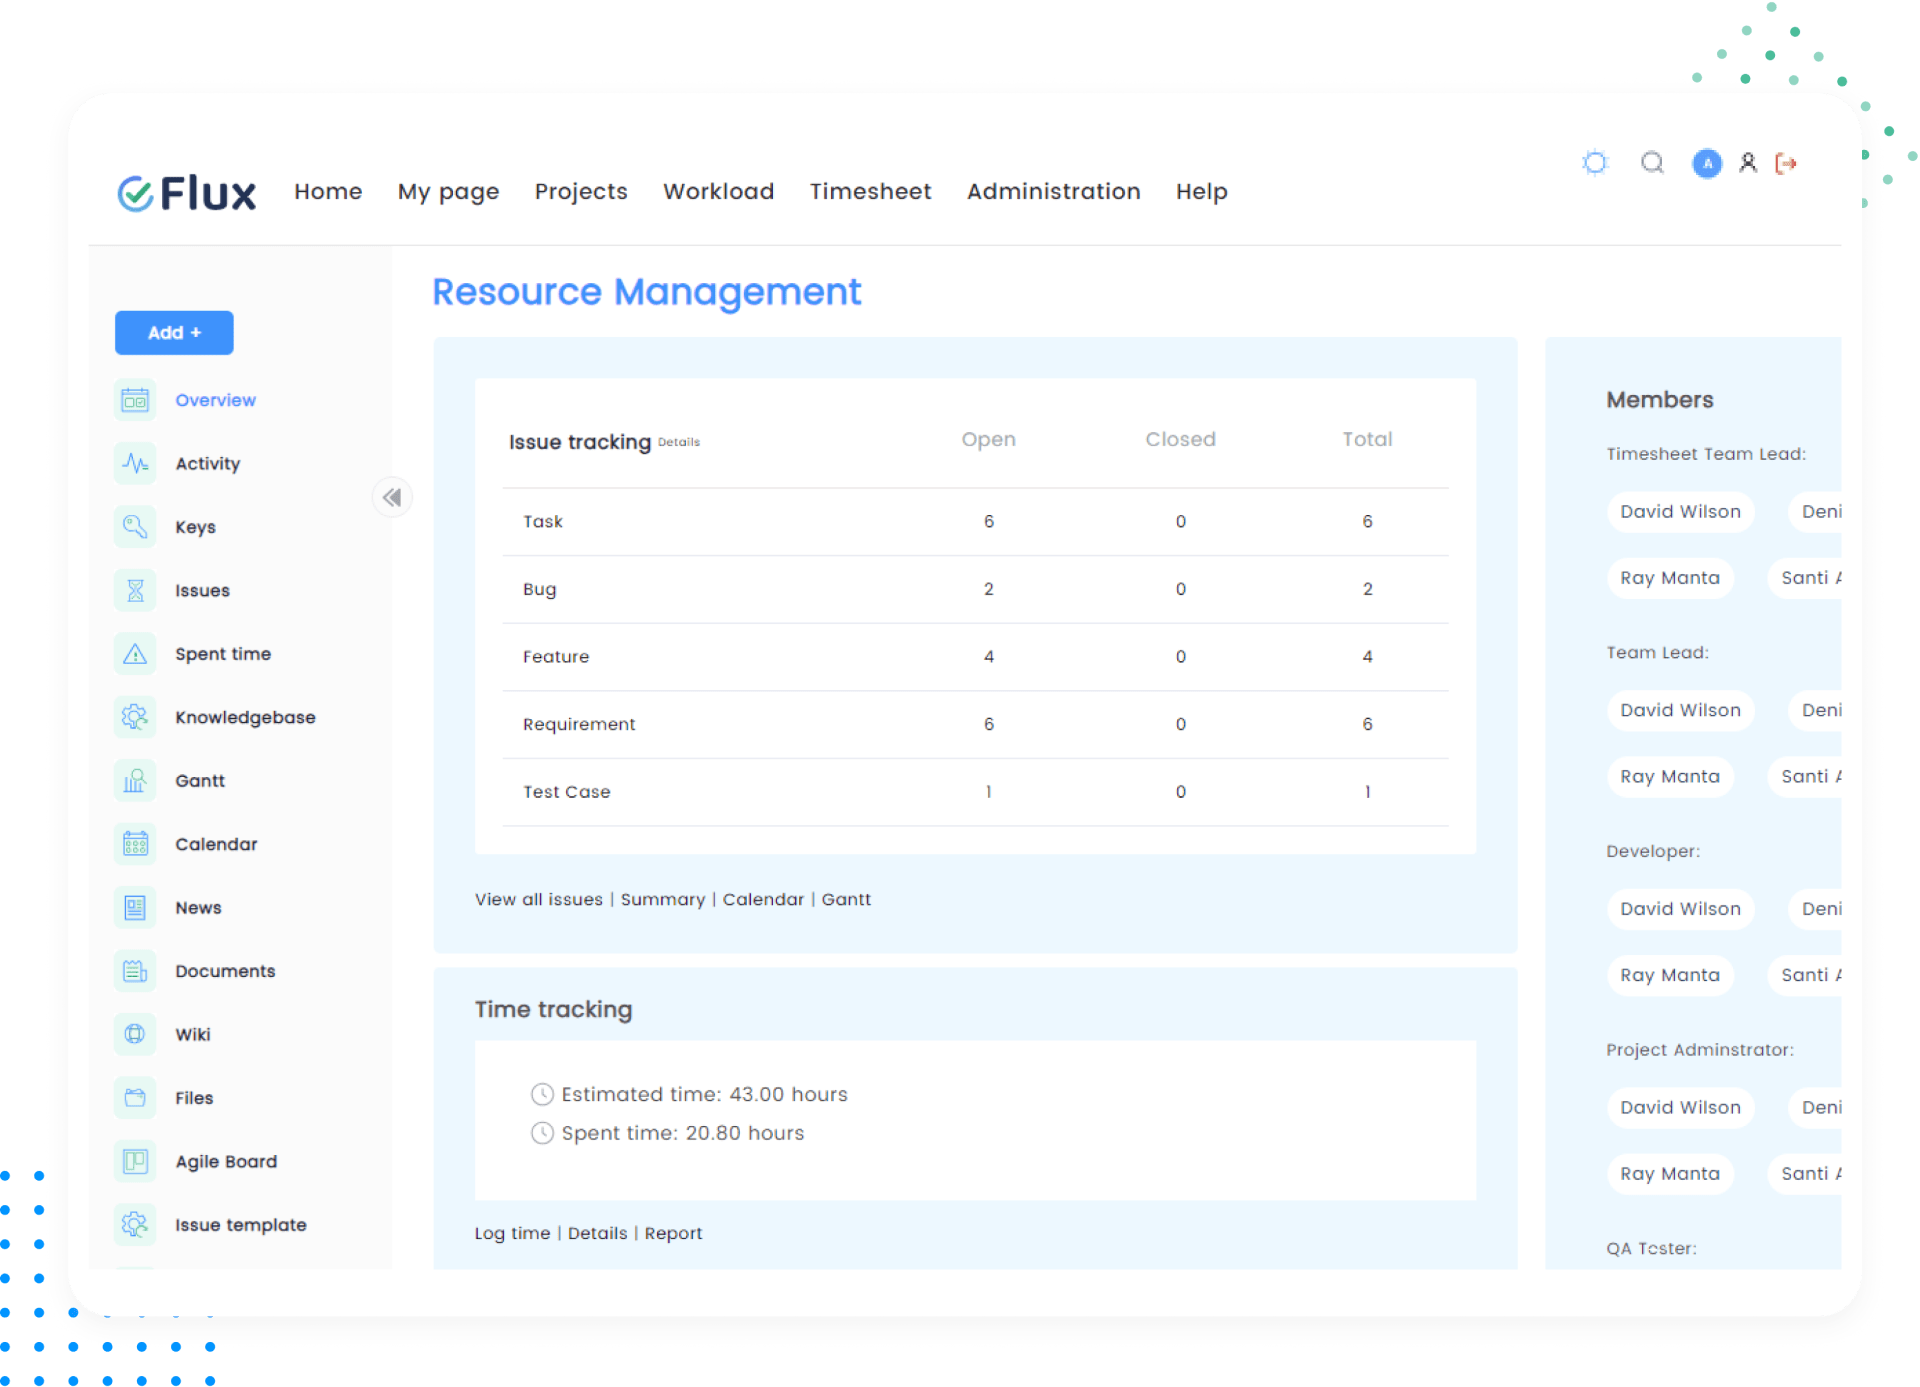
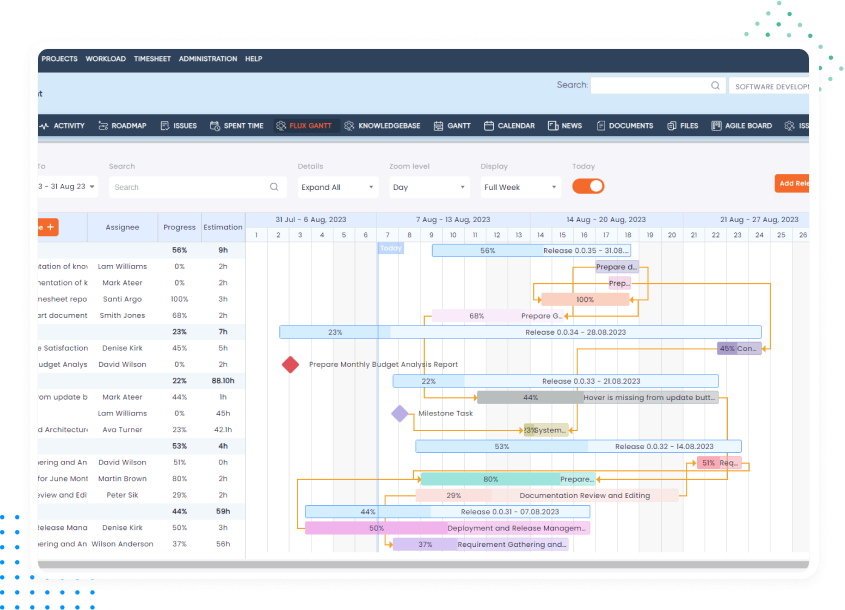
In this article, we will highlight some noteworthy features of two prominent project management tools: Redmineflux and Trello and discover the basic difference between them.