Introduction #
The Issue Template Plugin is a powerful tool that allows you to define standardized templates for creating issues in your project. By using this plugin, you can ensure that all issues created follow a consistent structure and include the necessary information for effective communication and problem-solving.
Version Compatibility #
Redmine Versions
- 4.0.x, 4.1.x, 4.2.x
- 5.0.x, 5.1.x
- 6.0.x
Editor Compatibility #
Fully compatible with CKEditor – Our plugins are designed to integrate with your specific CKEditor setup. Users are responsible for obtaining their own CKEditor license or plan.
Installation #
To install Redmineflux Issue Template Plugin follow these steps
- Make sure you have a working installation of Redmine.
- Download the Issue Template Plugin from the redmineflux.com website. The plugin typically comes in the form of a ZIP file
- Extract the Issue Template Plugin zip file to Redmine’s plugins directory (/path/to/redmine/plugins) and do not change the plugin folder name.
- Run the following command to install the required dependencies
Bundle install
- Run migrate command for database migration
-> In Production
RAILS_ENV=Production bundle exec rails redmine:plugins:migrate
–> In Development
RAILS_ENV=Development bundle exec rails redmine:plugins:migrate
- Restart Redmine server to load the plugin
Rails s
Configuration #
- For Global Issue template
- Log in to Redmine as an administrator.
- Navigate to the administration area by clicking on the “Administration” link in the top menu.
- Locate the “Issue Template” section and click on it.
- Display the issue template page where users can add new templates, submit templates, edit existing ones, and delete templates.
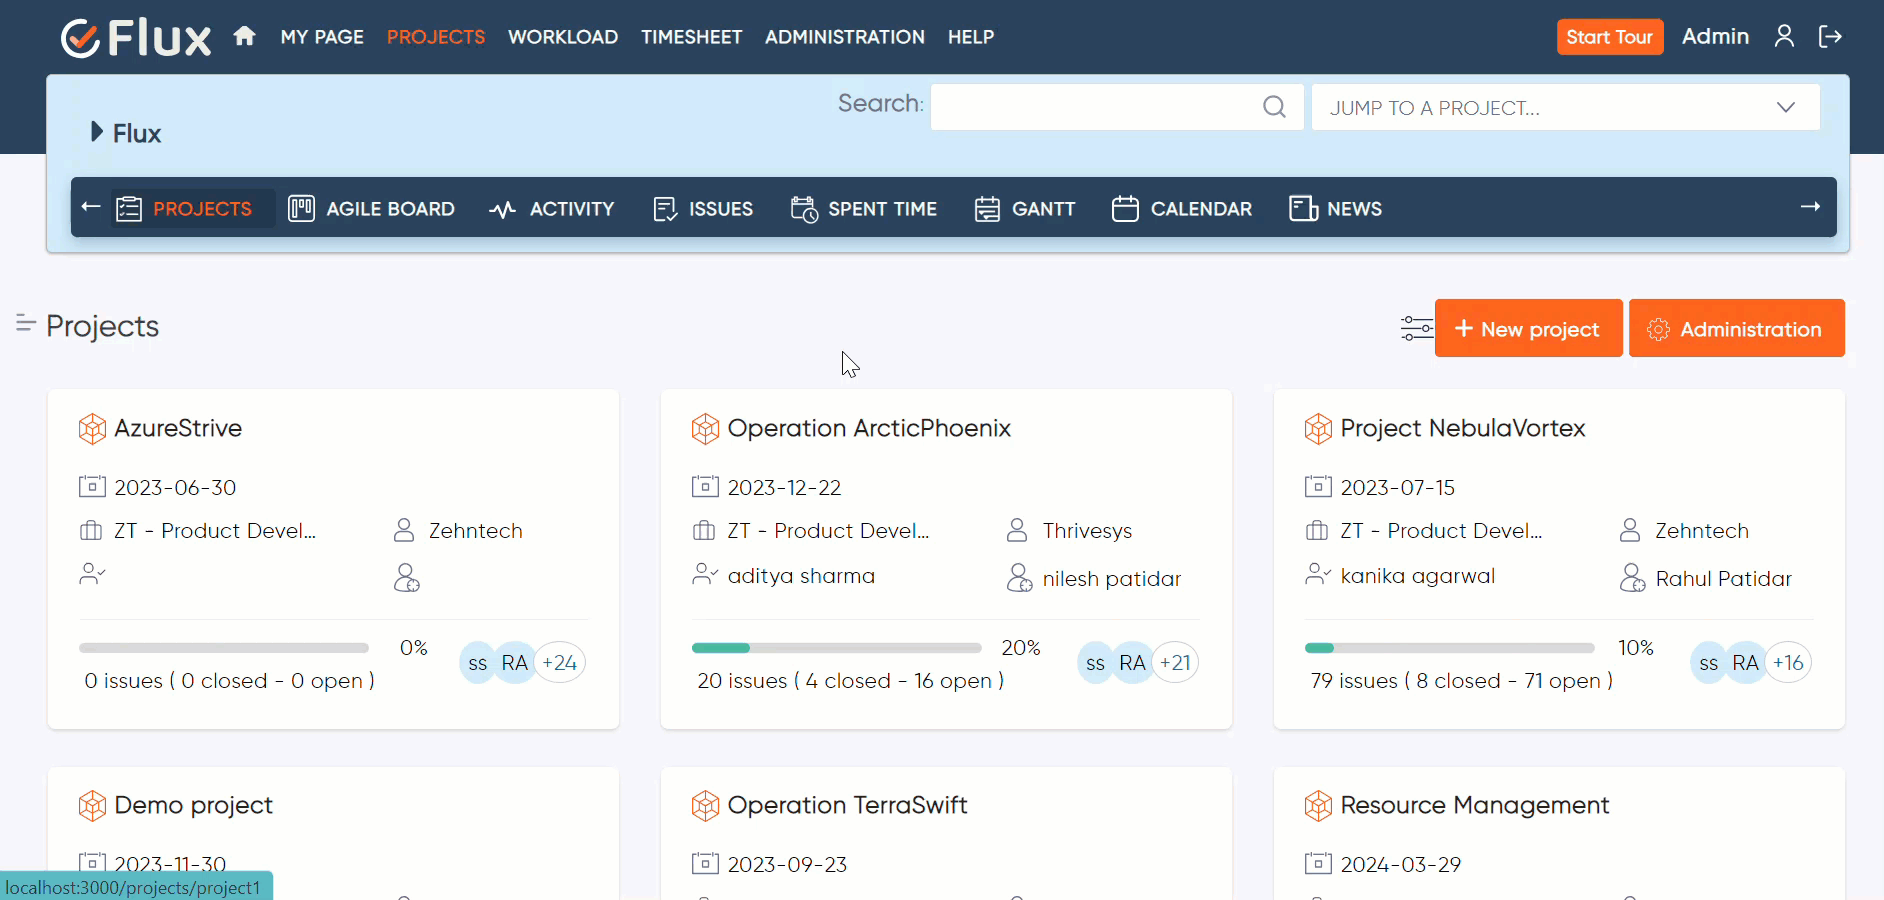
- For Particular Project Issue Template
- Login to Redmine using your credentials.
- Navigate to the header tab and click on the“Project” tab.
- Open the particular project where you want to add the templates.
- Navigate to the header tab and click on the “Issue Template” tab.
- Display the issue template page where users can add new templates, submit templates, edit existing ones, and delete templates for particular projects.
How to #
How to Create the Global Issue Template #
- Navigate to the administration area by clicking on the “Administration” link in the top menu.
- Locate the “Issue Template” section and click on it.
- Go to the issue template page.
- Click on the “Add Issue Template” button.
- Fill in the required fields such as “Tracker”, “Issue Template Name”, “Issue Subject”, “Issue description”, and “Project list” to select the project to use the template.
- After filling in the necessary information, click on the submit button to save the template.
- Additionally, the template should include a clear button to reset the form and a cancel button to discard the template without saving it.
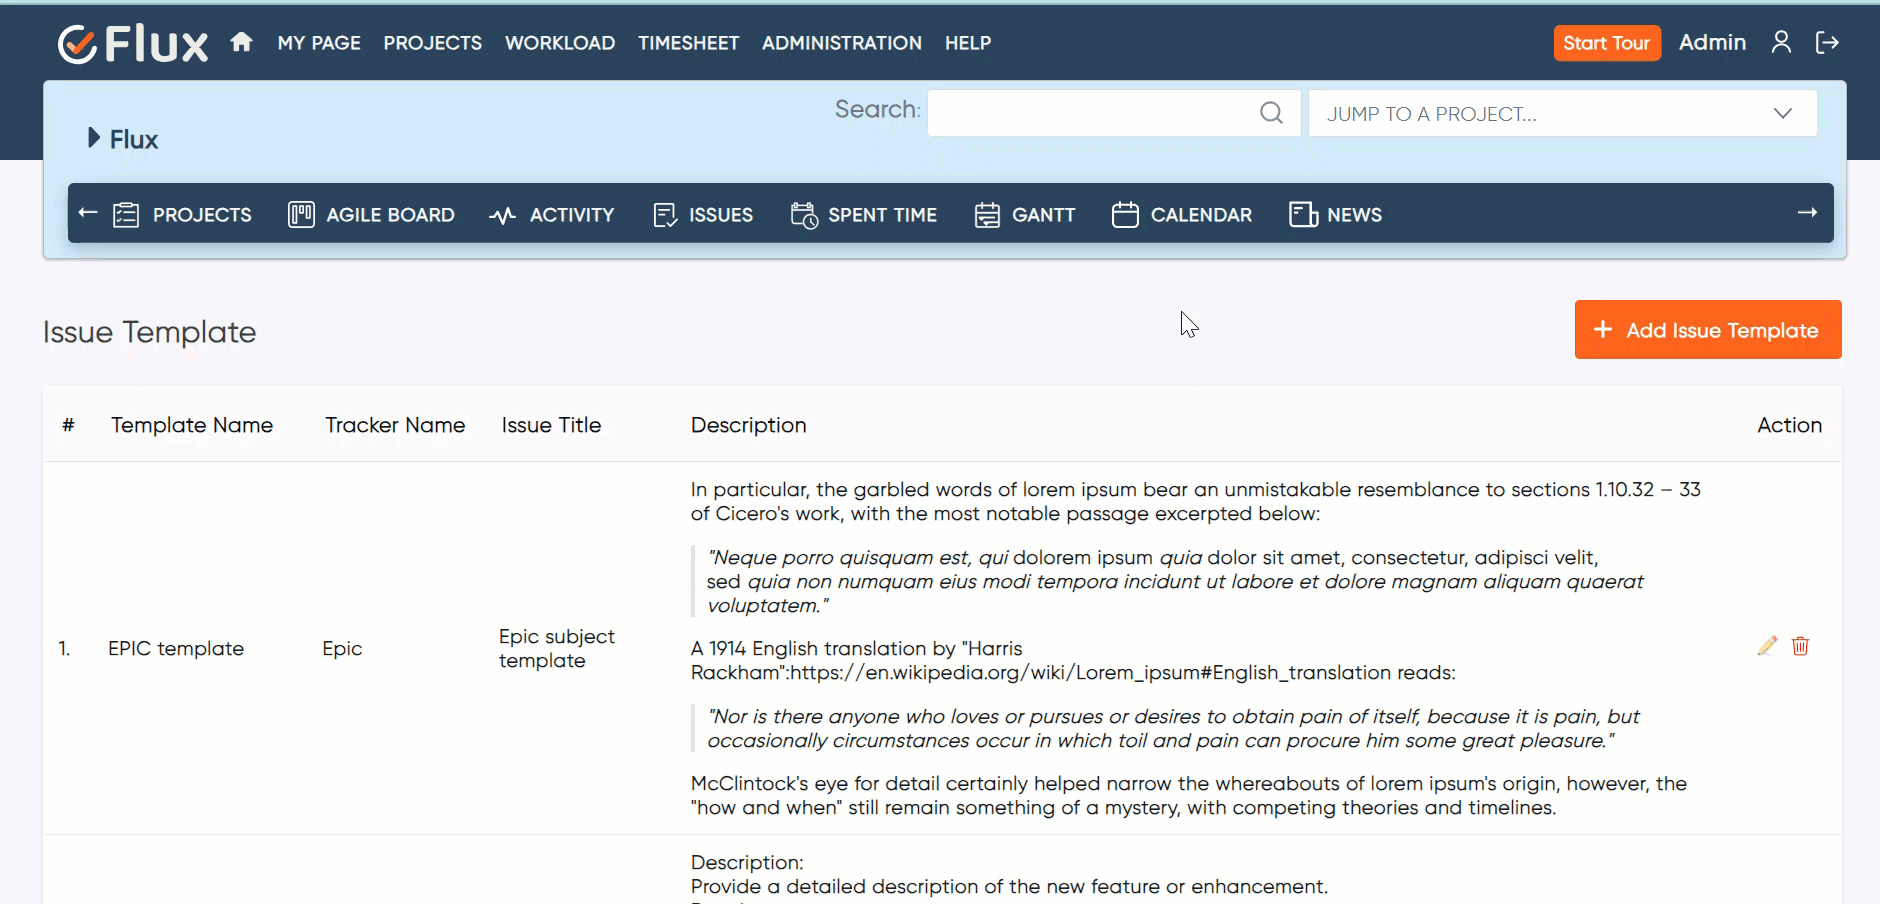
- Global Issue Template Page displaying only those templates that have been created by the administrator .

How to Create the Particular Project Issue Template #
- Navigate to the header tab and click on the “Project” tab.
- Open the particular project where you want to add the templates.
- Navigate to the header tab and click on the “Issue Template” tab.
- Go to the issue template page.
- Click on the “Add Issue Template” button.
- Fill in the required fields such as “Tracker”, “Issue Template Name”, “Issue Subject”, “Issue description”, and “Project list” to select the project to use the template.
- After filling in the necessary information, click on the submit button to save the template.
- Additionally, the template should include a clear button to reset the form and a cancel button to discard the template without saving it.
- Restrict the projects list in the issue template creation form to display only the projects for which the user is a member.
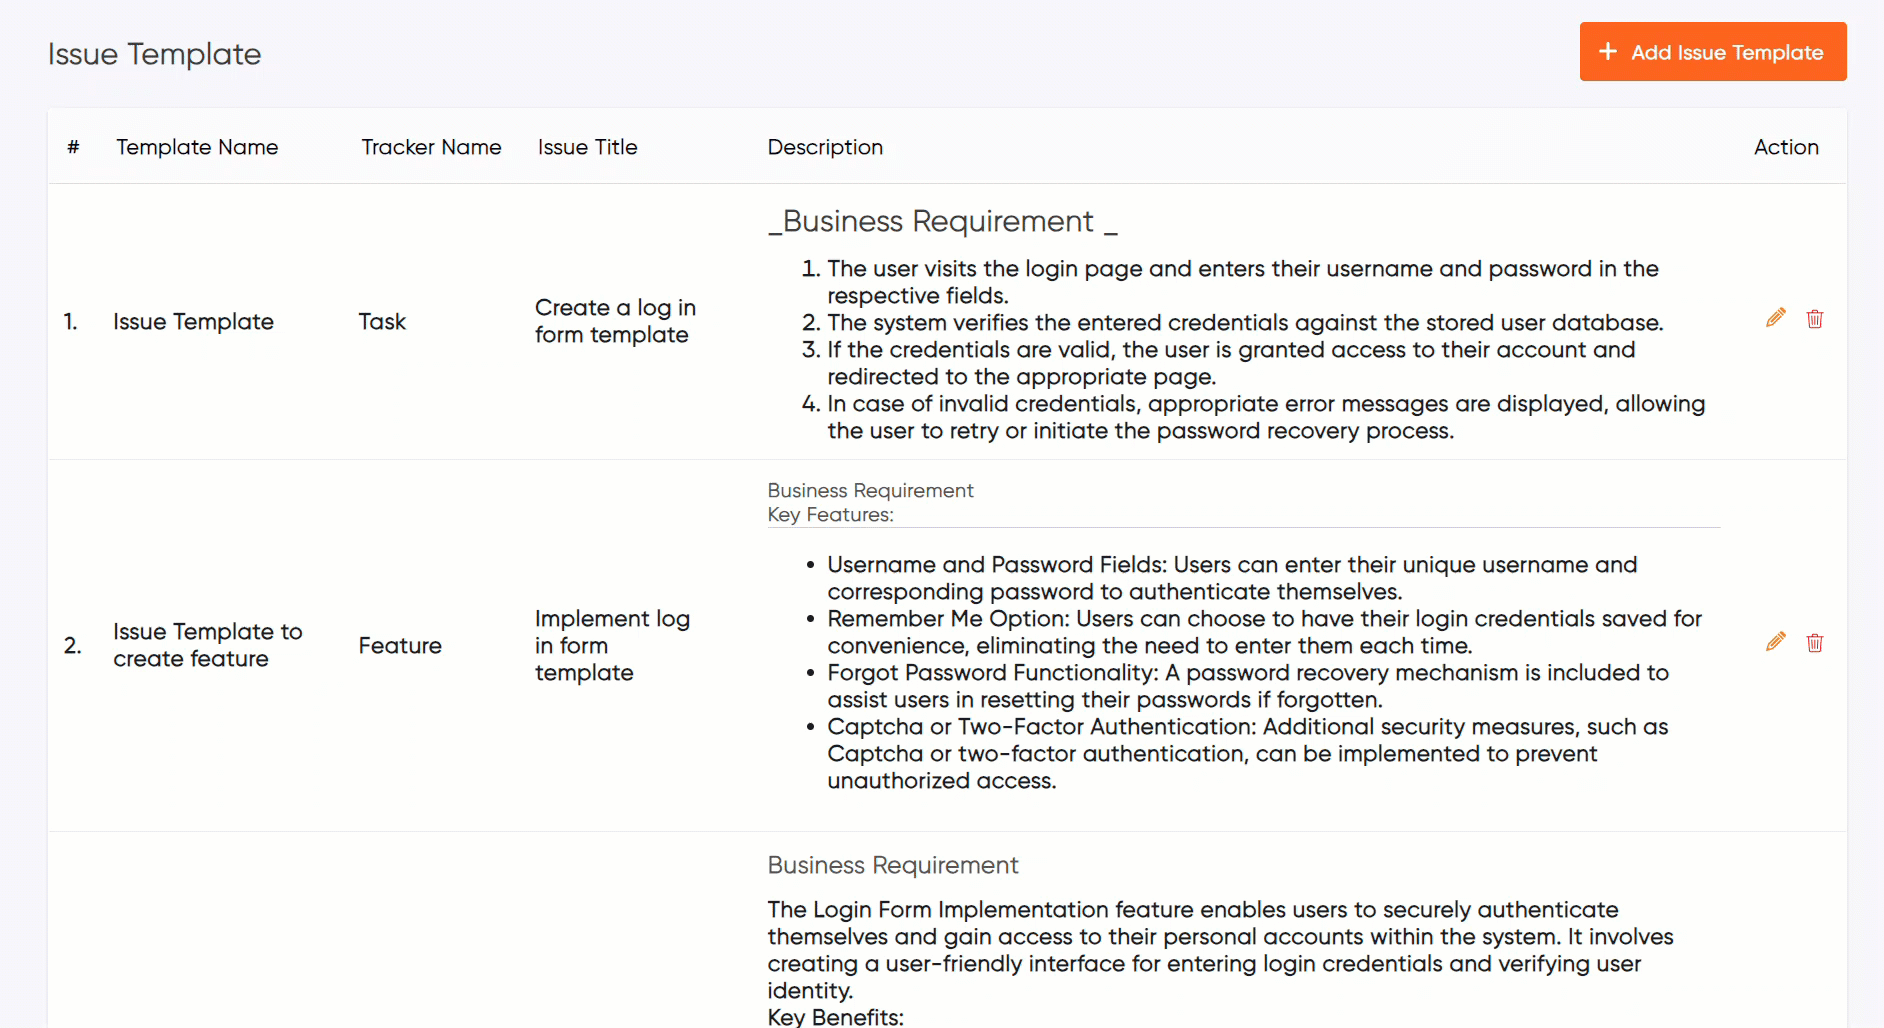
- Project Issue Template Page displaying the issue templates included in the project, showcasing both project-specific templates and global issue templates.
How to Edit the Issue Template #
- Navigate to the “Issue Template” tab.
- Display the list of created templates.
- Find the template you want to edit and click on the edit icon (pencil icon).
- You will be directed to the edit or update Issue template page.
- Make the necessary changes to the fields you want to modify.
- Submit the updated template to save your changes.
How to Delete the Issue Template #
- Navigate to the “Issue Template” tab.
- Display the list of created templates.
- Find the template that you want to delete from the list and click on the trash icon(delete icon).
- A confirmation dialog may appear asking you to confirm the deletion.
- Confirm the deletion by clicking on “Yes” or “OK”.
- The selected template will be removed from the list.

How to Use the Issue Template #
- Navigate to the header tab and click on the “Issue” tab.
- Click on the “New Issue” button.
- Go to the create new issue page.
- The system will automatically pre-select the default issue template according to the tracker.
- Click on the create button to create the issue.
Troubleshooting #
- Check Compatibility: Ensure that you are using a compatible version of the Redmineflux Issue Template Plugin with your Redmine installation. Verify the plugin’s compatibility information and ensure it matches your Redmine version.
- Plugin Conflicts: Check for any conflicts with other installed plugins. Disable or uninstall conflicting plugins to see if the issue persists.
- Clear Caches: Clear Redmine’s caches by restarting the application or using any available cache clearing mechanisms.
- Community Support: Seek assistance from the Redmine community forums, plugin developers, or the official plugin repository for additional support and guidance.
Frequently Asked Questions (FAQs) #
Q1: What is the Issue Template Plugin?
A1: The Issue Template Plugin is a tool that allows you to define standardized templates for creating issues in your project. It ensures that all issues follow a consistent structure and include the necessary information for effective communication and problem-solving.
Q2: What is the purpose of the Issue Template Plugin?
A2: The Issue Template Plugin is designed to standardize the creation of issues in your project by providing predefined templates. It ensures that all issues follow a consistent structure and include the necessary information for effective communication and problem-solving.
Q3: Can I delete an existing issue template?
A3: Yes, you can delete an issue template if it’s no longer needed. Access the plugin’s configuration settings, locate the template you want to delete, and use the provided delete or remove option to remove it from the list.
Q4: Are there any validation options available for template fields?
A4: Yes, the plugin may offer template validation options. You can define mandatory fields or set up validation rules to ensure that users provide the necessary information when creating an issue using a specific template.
Q5: Can I update or modify existing issue templates?
A5: Yes, you can typically update or modify existing issue templates. Go to the issue template page, click on the edit or modify templates. From there, you can make changes to the template’s title, description, or fields.
Q6: Is it possible to assign templates to specific projects?
A6: Yes, it is possible to assign templates to specific projects using the Issue Template Plugin.
1. Go to the Issue template page, and edit the template.
2. You will be directed to the “Edit or Update Issue Template” page.
3. Update the “Project List” field by checking the checkboxes or selecting the projects.
Q.7 How does the pre-selected default issue template functionality work?
A7: When creating a new issue, the plugin automatically sets a default template according to the specified tracker. This streamlines the issue creation process and ensures that the appropriate template is pre-selected.
Q.8 How does the project filter functionality work ?
A7: The project filter functionality enhances the Issue Template form’s project selection by implementing an auto-scroll feature in the project list. When a user presses any key, the project list automatically scrolls down and renders projects whose names begin with the pressed key.
Uninstallation of Plugin #
To uninstall the Redmineflux Issue Template Plugin, follow these steps
- Go to the Issue Template Plugin directory in Redmine.
- Delete the entire Issue Template Plugin directory from Redmine/plugins directory. This step removes the plugin files from your Redmine installation.
- If the plugin required a migration, run the following command to downgrade your database (make a db backup before):
bundle exec rake redmine:plugins:migrate NAME=plugin_name VERSION=0 RAILS_ENV=production
- Restart the Redmine server to see the changes.
- This will uninstall the Redmineflux Issue Template Plugin from Redmine.
Updates and Revisions #
- Plugin Updates: Keep track of plugin updates and new releases. Visit the official plugin website, plugin repository, Plugin updates may include bug fixes, performance improvements, or new features related to tag management.
- Documentation Revisions: Regularly review the plugin’s official documentation for any revisions or updates. Documentation may be revised to reflect changes in the plugin’s functionality, configuration options, or integration with the latest versions of Redmine.
- Testing and Compatibility: Before updating the plugin or making any significant changes to your Redmine instance, consider testing the changes in a development or staging environment. This allows you to verify compatibility with your specific Redmine version, check the impact on existing tags and data, and ensure a smooth transition.
Conclusion #
The Issue Template Plugin provides a straightforward and efficient way to enforce consistent issue creation within your project. By defining templates, filling in template variables, and following the provided guidelines, you can ensure that all issues contain the necessary information for effective collaboration.