The Redmineflux Tag Plugin is a powerful plugin for the project management tool that allows users to add tags to various entities. Tags provide a flexible and efficient way to categorize and organize information, making it easier to search for and retrieve relevant data.
To install Redmineflux Tag Plugin follow these steps
Make sure you have a working installation of Redmine.
Download the Tag Plugin from the redmineflux.com website. The plugin typically comes in the form of a ZIP file
Extract the tag plugin zip file to Redmine’s plugins directory (/path/to/redmine/plugins) and do not change the plugin folder name.
Run the following command to install the required dependencies Bundle install
Run migrate command for database migration -> In Production RAILS_ENV=Production bundle exec rails redmine:plugins:migrate –> In Development RAILS_ENV=Development bundle exec rails redmine:plugins:migrate
Navigate to the administration area by clicking on the “Administration” link in the top menu.
Locate the “Plugins” section and click on it.
In the list of installed plugins, find the Redmineflux Tag Plugin and click on the “Configure” link next to it.
The plugin configuration page will open, presenting you with settings and options. Modify the settings according to your requirements. The available configuration options may include:
Tag Color: Set the default color for tags. This color will be used for tags that don’t have a specific color assigned.
Once you have made the necessary configuration changes, click the “Save” or “Apply” button to save the settings.
After saving the configuration, restart Redmine to ensure that the changes take effect.
Once Redmine has restarted, the Redmineflux Tag Plugin will be configured according to your settings, and you can start using it to tag entities within Redmine.
Navigate to the desired section where the plugin is applicable. For example:
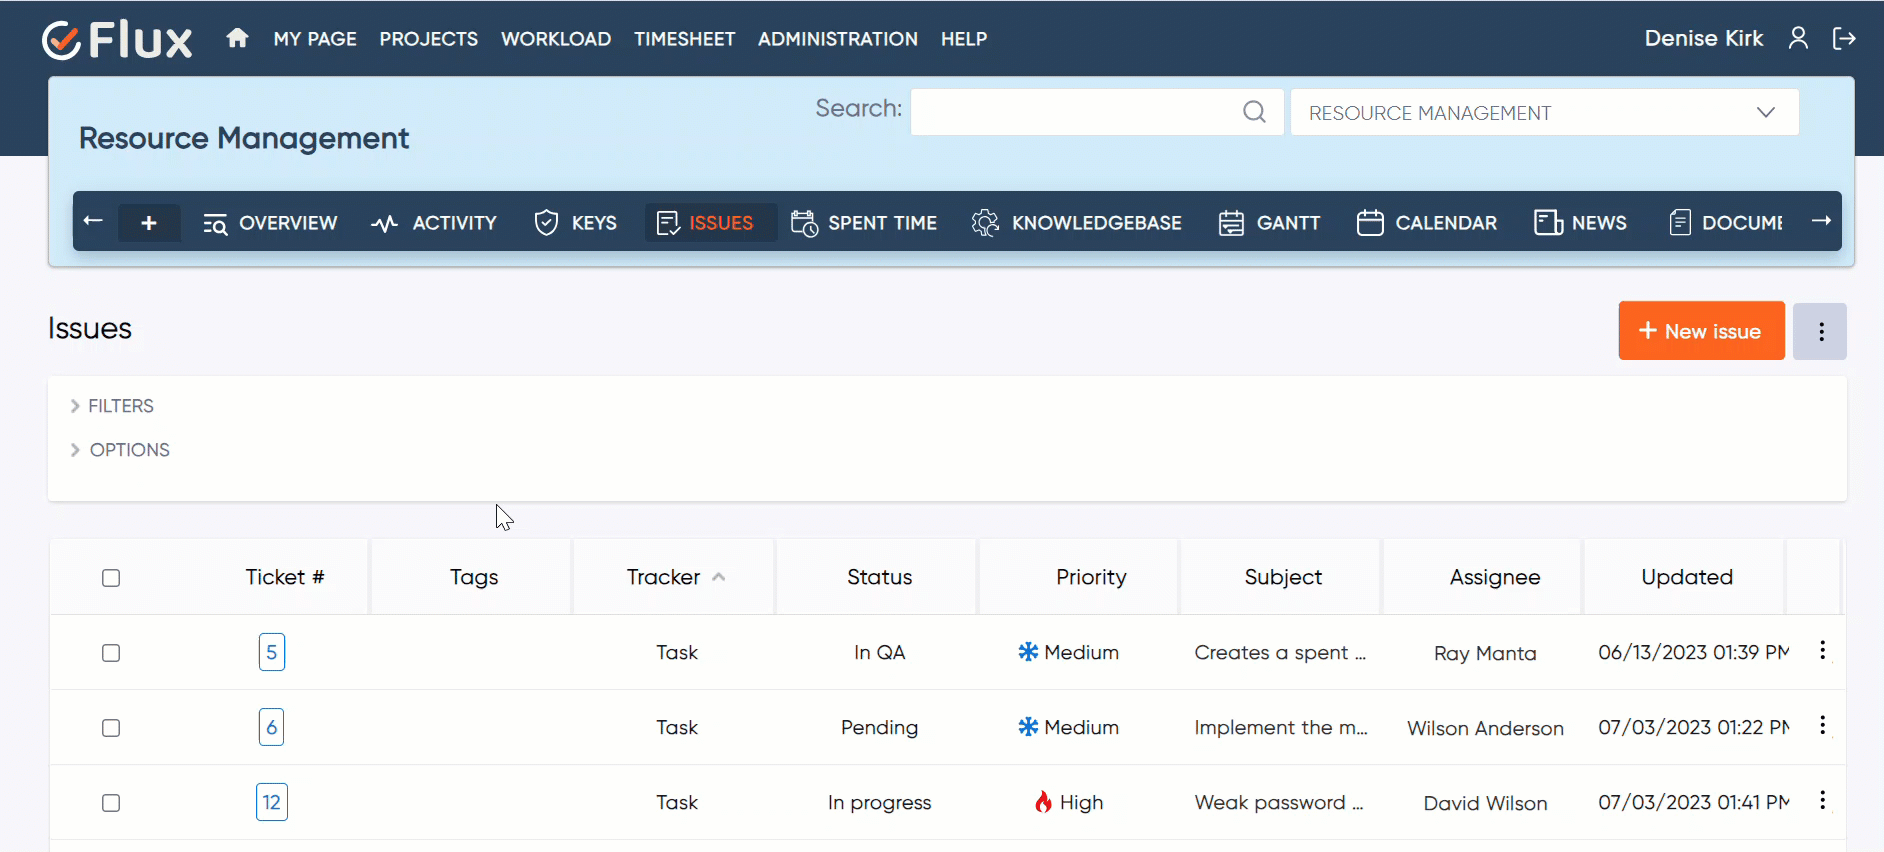
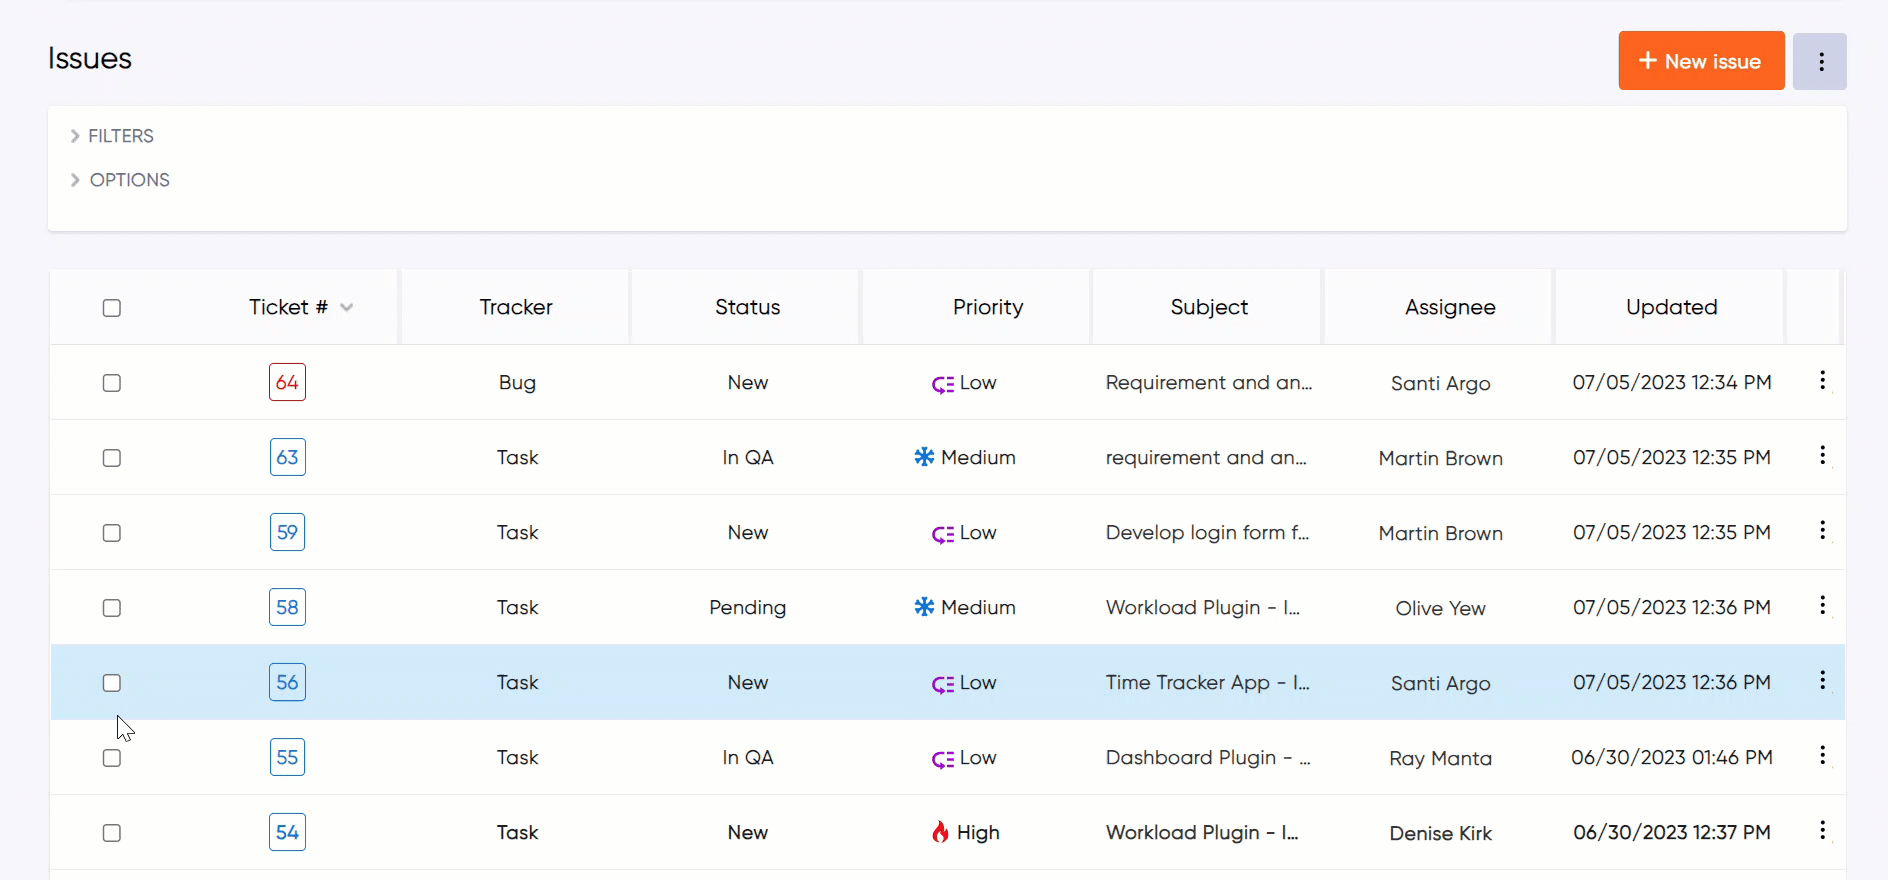
Issues: Go to the “Issues” page, click the option and select the tag field then click the “Apply” the option and the tags are shows in issue table.
Show Issues or new issue: Go to the “Show issues” or new issue page there is a tag field to add and view the tags.
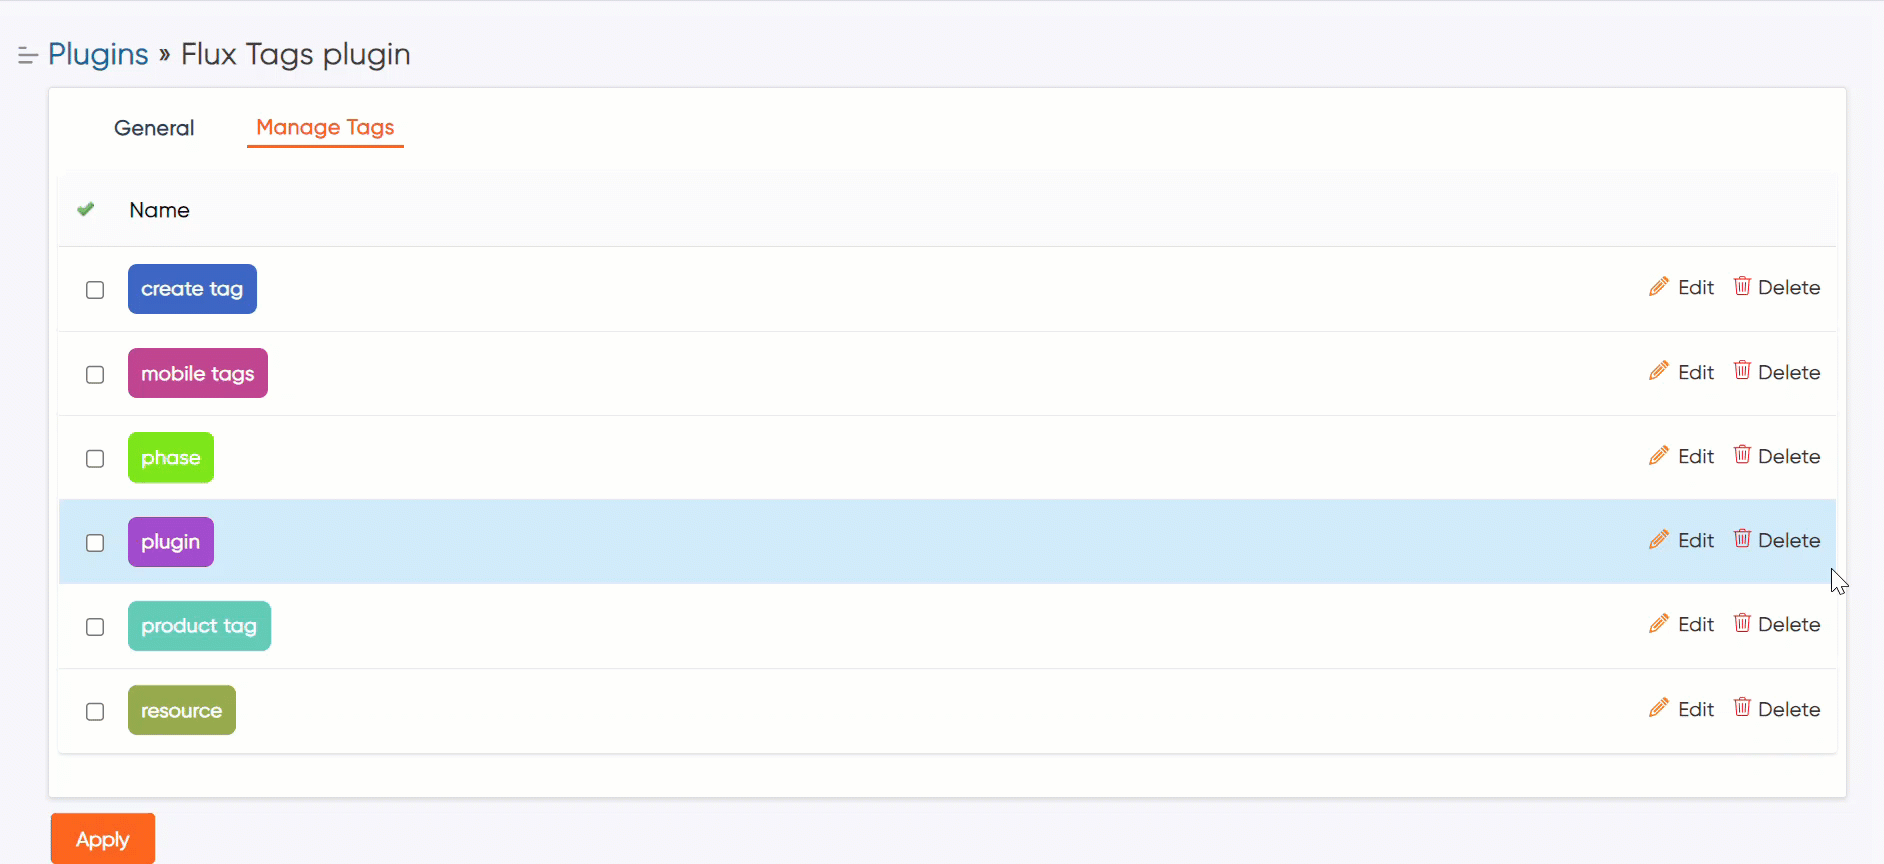
Tag setting: Go to the “Administration” menu, select “Plugins”, and find the tag plugin, go to the plugin configuration and manage tag setting.
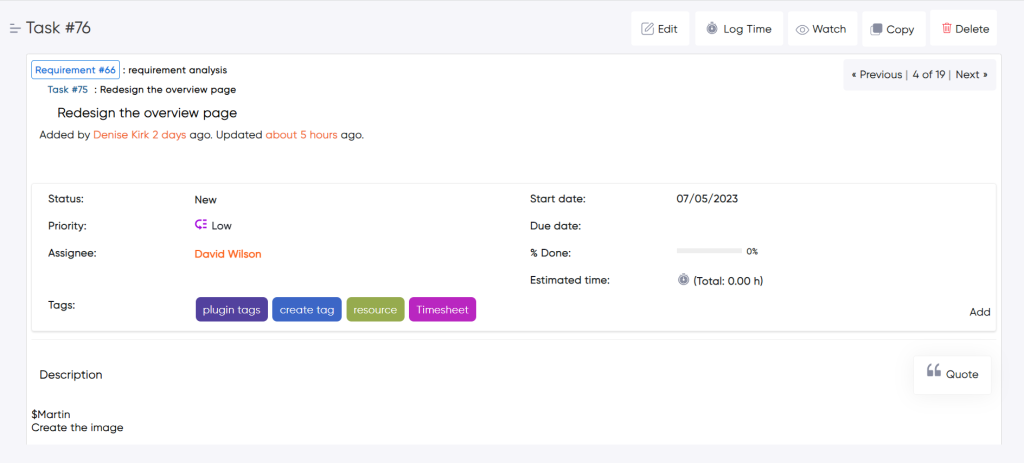
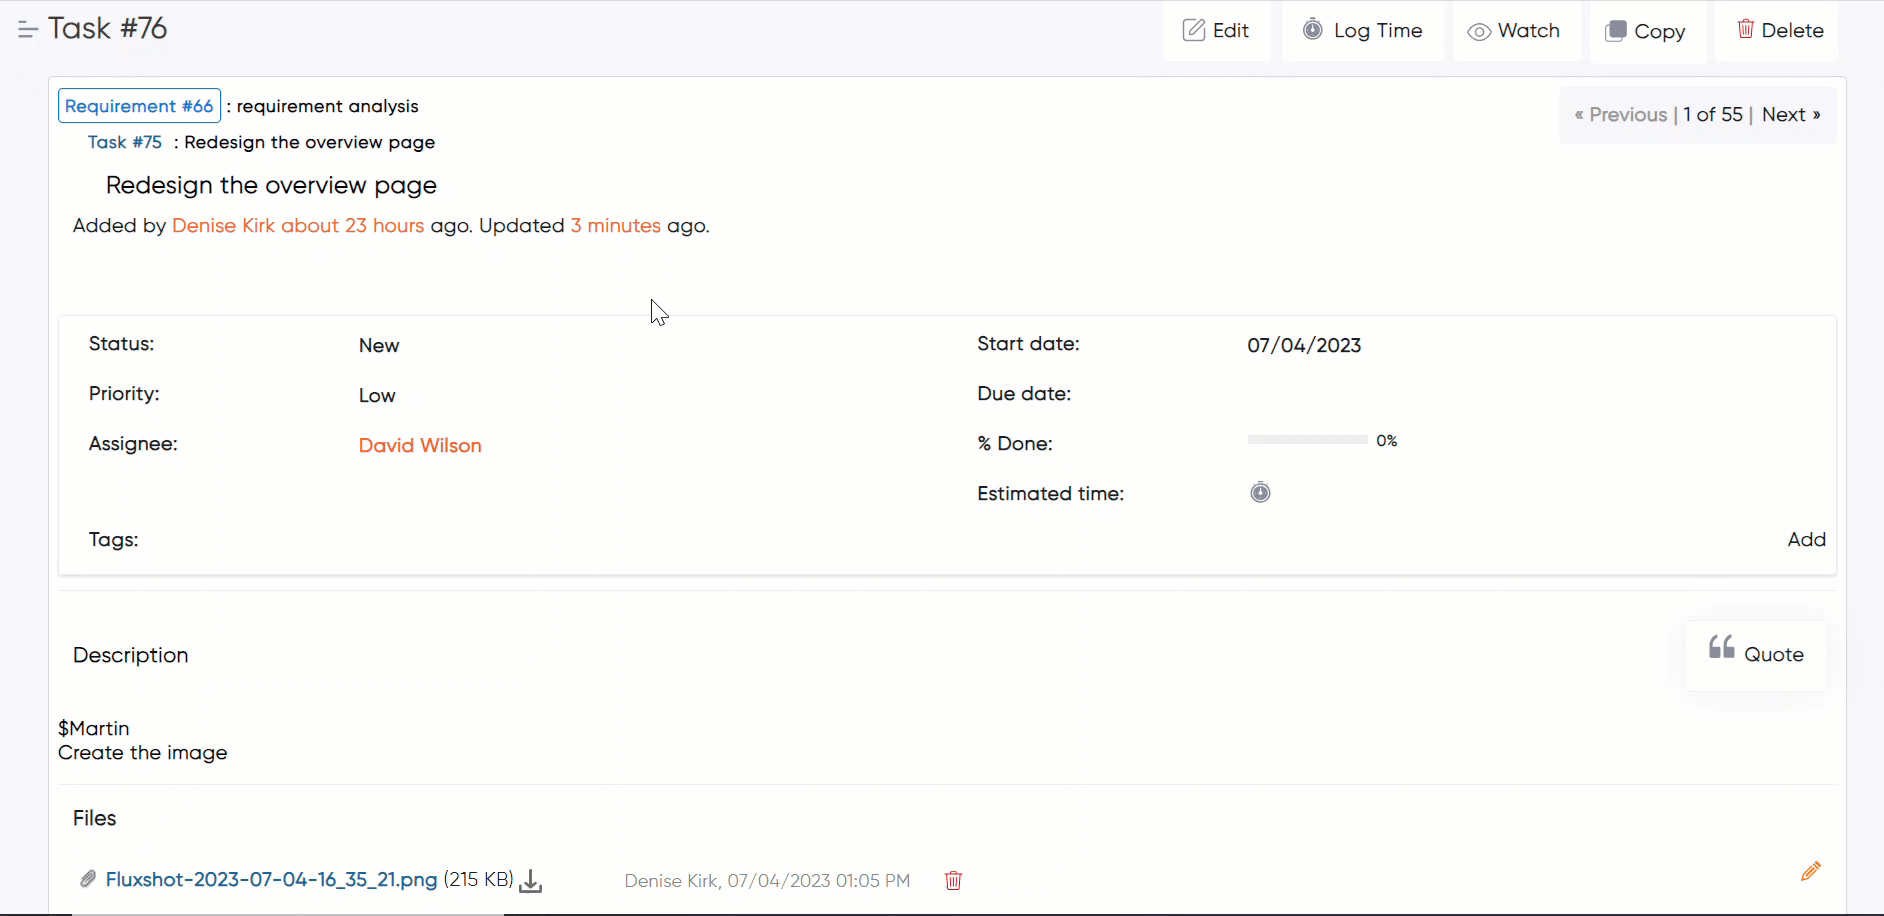
In the entity view (e.g., issues page, Show issue page, tag plugin setting page), locate the “Tags” field.
If tags are already assigned to the entity, you will see them displayed in the “Tags” field. Tags are typically shown as hyperlinks or labels.
Click on a tag to view all entities associated with that particular tag. This will navigate you to a page displaying a list of entities tagged with the selected tag.
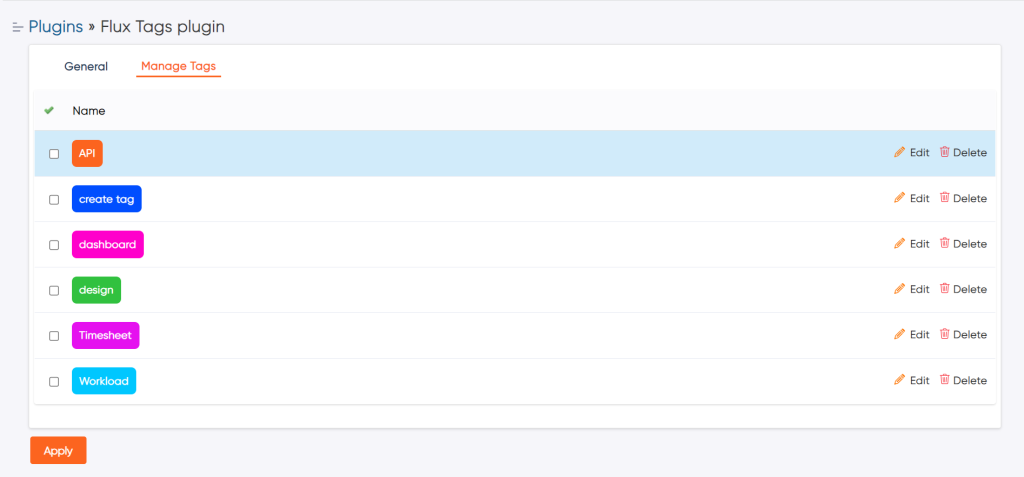
If you have the necessary permissions, you can manage tags by navigating to the tag management section in the administration area. From there, you can create, edit, or delete tags, rename tags, assign colors to tags, and perform other tag-related operations.
Users can assign one or more tags to various entities in the tag field. This helps in categorizing and organizing information. Go to the show issue page or new issue and start adding the tags, hit enter, and add it.
Go to the “Issues” page, click the filter, and in add filter drop-down select the tag field and choose the required tag then click “Apply”, and display the tag-related issues. And other click the option and select the tag field then click the “Apply” option, the tag column is added and all tags are shown in the issue table.
Click on a tag to view all entities associated with that particular tag. This will navigate you to a page displaying a list of entities tagged with the selected tag and display the list of task.
Check Compatibility: Ensure that you are using a compatible version of the Redmineflux Tag Plugin with your Redmine installation. Verify the plugin’s compatibility information and ensure it matches your Redmine version.
Plugin Conflicts: Check for any conflicts with other installed plugins. Disable or uninstall conflicting plugins to see if the issue persists.
Clear Caches: Clear Redmine’s caches by restarting the application or using any available cache clearing mechanisms.
Community Support: Seek assistance from the Redmine community forums, plugin developers, or the official plugin repository for additional support and guidance.
Redmine Official Documentation: The official Redmine documentation provides detailed information on various features, including tagging. Visit the Redmine website (redmine.org) or redmineflux.com website and navigate to the documentation section to access relevant guides and resources.
Redmine or Redmineflux Tag Plugin Documentation: If you are specifically using the Tag Plugin, refer to its official documentation or user guide. The plugin documentation should provide detailed instructions on installation, configuration, and usage.
Q1: Can I customize the colors of tags in Redmine?
A1: Yes, if your Tag Plugin supports it, you can assign custom colors to tags. The plugin’s configuration options or tag management section should provide a way to set colors for tags or define default colors.
Q2: Can I rename or delete tags that are already assigned to entities in Redmine?
A2: If you rename or delete a tag that is already assigned to entities, it can affect those entities. So, it is important to be careful when making such changes. Renaming a tag will change the name of the tag on all the associated entities. However, deleting a tag might leave entities without any tags or require you to assign new tags to them. Before making any changes, it is advisable to inform users about the changes and evaluate the potential impact.
Q3: Can users are access to edit or delete the tag?
A3: No, The users are not allowed to edit or delete the tags, only the admin or who have permission to edit or delete them.
Delete the entire Tag Plugin directory from Redmine/plugins directory. This step removes the plugin files from your Redmine installation.
If the plugin required a migration, run the following command to downgrade your database (make a db backup before): bundle exec rake redmine:plugins:migrate NAME=plugin_name VERSION=0 RAILS_ENV=production
Restart the Redmine server to see the changes.
This will uninstall the Redmineflux Tag Plugin from Redmine.
Plugin Updates: Keep track of plugin updates and new releases. Visit the official plugin website, plugin repository, Plugin updates may include bug fixes, performance improvements, or new features related to tag management.
Documentation Revisions: Regularly review the plugin’s official documentation for any revisions or updates. Documentation may be revised to reflect changes in the plugin’s functionality, configuration options, or integration with the latest versions of Redmine.
Testing and Compatibility: Before updating the plugin or making any significant changes to your Redmine instance, consider testing the changes in a development or staging environment. This allows you to verify compatibility with your specific Redmine version, check the impact on existing tags and data, and ensure a smooth transition.
The Tag Plugin provides a valuable tagging feature to enhance the organization and categorization of information within Redmine. By effectively using tags, users can improve searchability, and find relevant information faster. This documentation should serve as a comprehensive guide to help you install, configure, and utilize the Tag Plugin successfully.