Introduction #
The Redmineflux Checklist Plugin is a powerful tool, a flexible project management tool. This plugin enhances Redmine’s functionality by adding checklist capabilities to issues, allowing users to create and manage task lists within issues. With the Redmine Checklist Plugin, users can easily track progress, ensure task completion, and improve overall productivity. It provides a straightforward way to create, edit, and track checklist items within issues, making it easier to stay organized and focused on project milestones.
Version Compatibility #
Redmine Versions
- 4.0.x, 4.1.x, 4.2.x
- 5.0.x, 5.1.x
- 6.0.x
Installation #
To install Redmine Checklist Plugin follow these steps
- Make sure you have a working installation of Redmine.
- Download the Checklist plugin from the redmineflux.com website. The plugin typically comes in the form of a ZIP file.
- Extract the Checklist Plugin zip file to Redmine’s plugins directory (/path/to/redmine/plugins) and do not change the plugin folder name.
- Run the following command to install the required dependencies
Bundle install - Run migrate command for database migration
-> In ProductionRAILS_ENV=Production bundle exec rails redmine:plugins:migrate
-> In Development
RAILS_ENV=Development bundle exec rails redmine:plugins:migrate - Restart Redmine server to load the plugin
Rails s
Configuration #
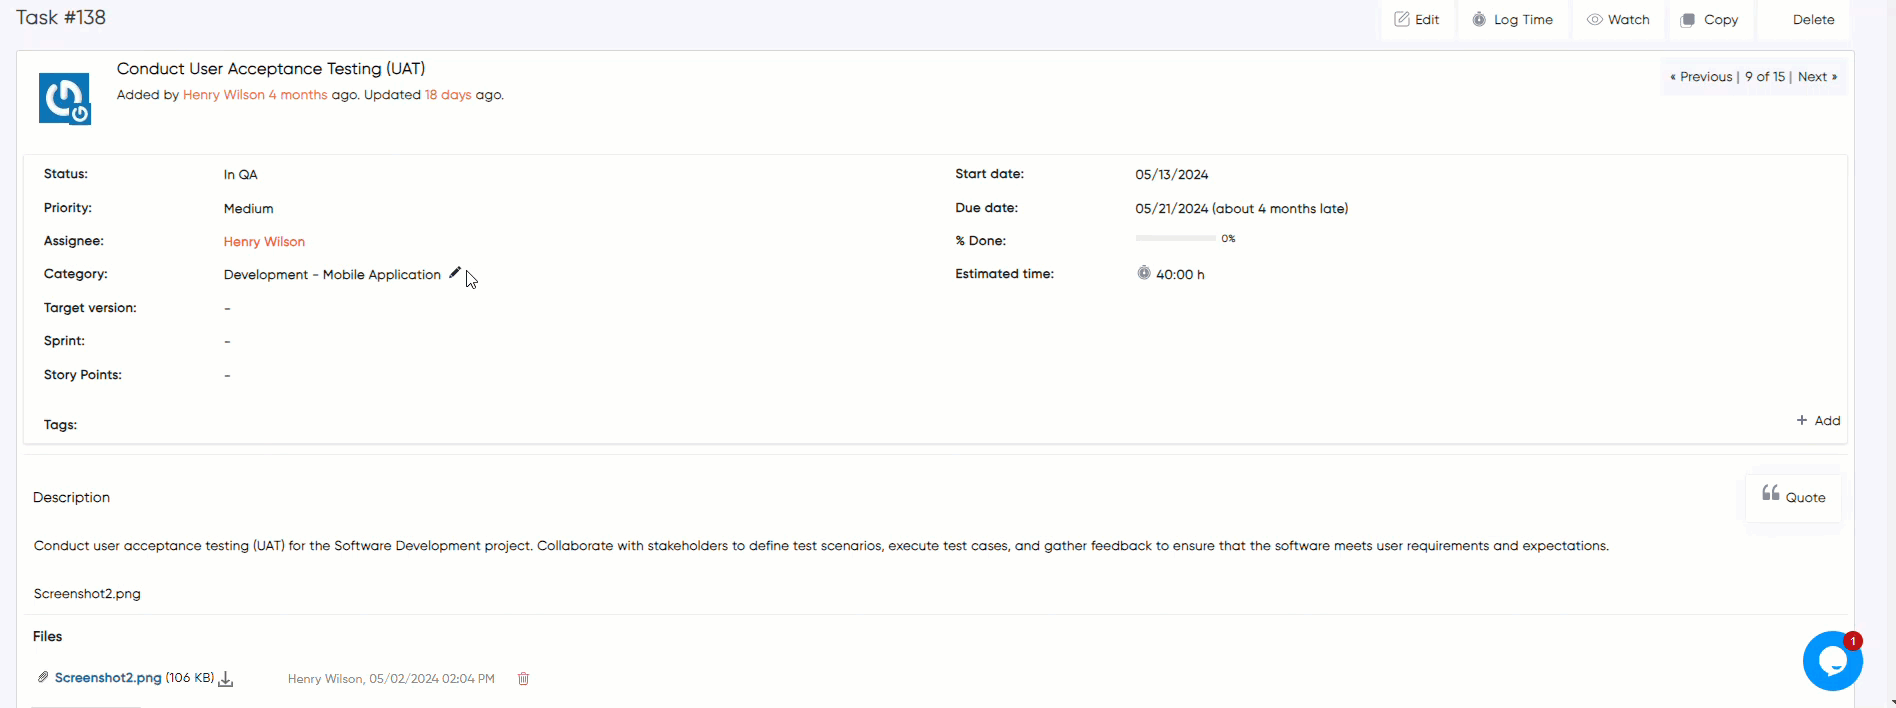
- Log in to Redmine as an administrator or user.
- Navigate to the header tab and click on the “Issues” tab.
- Open the issue where you want to add a checklist.
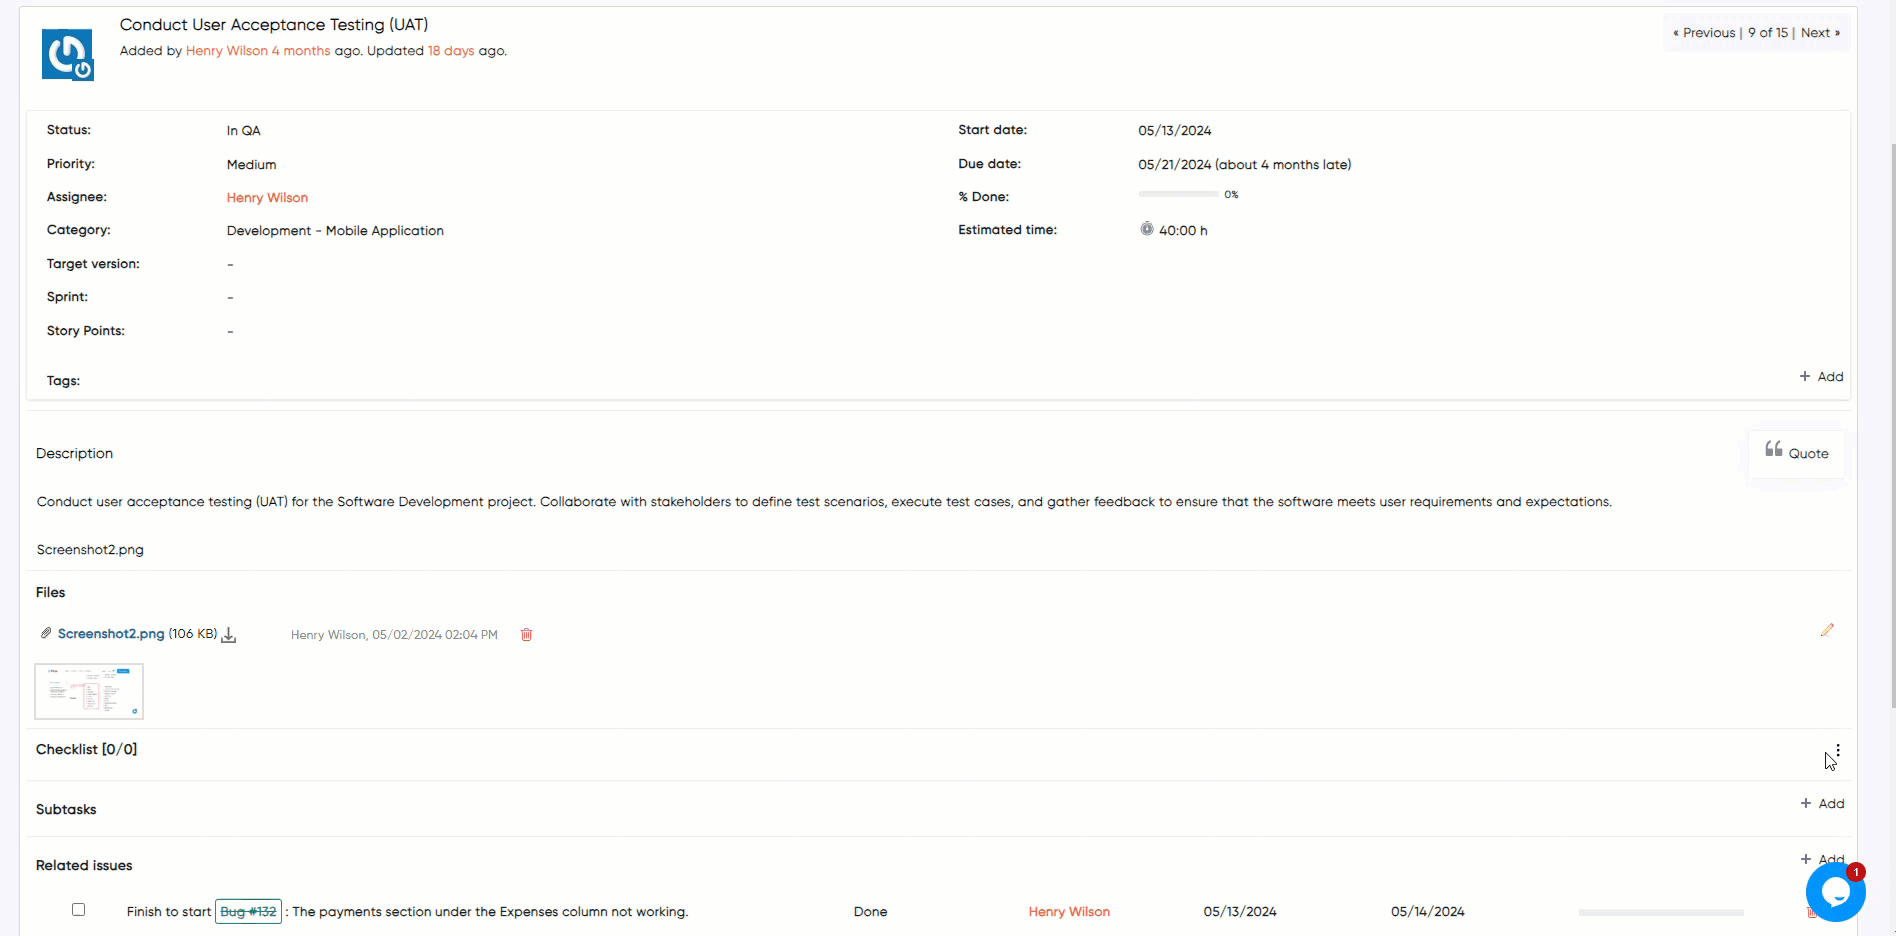
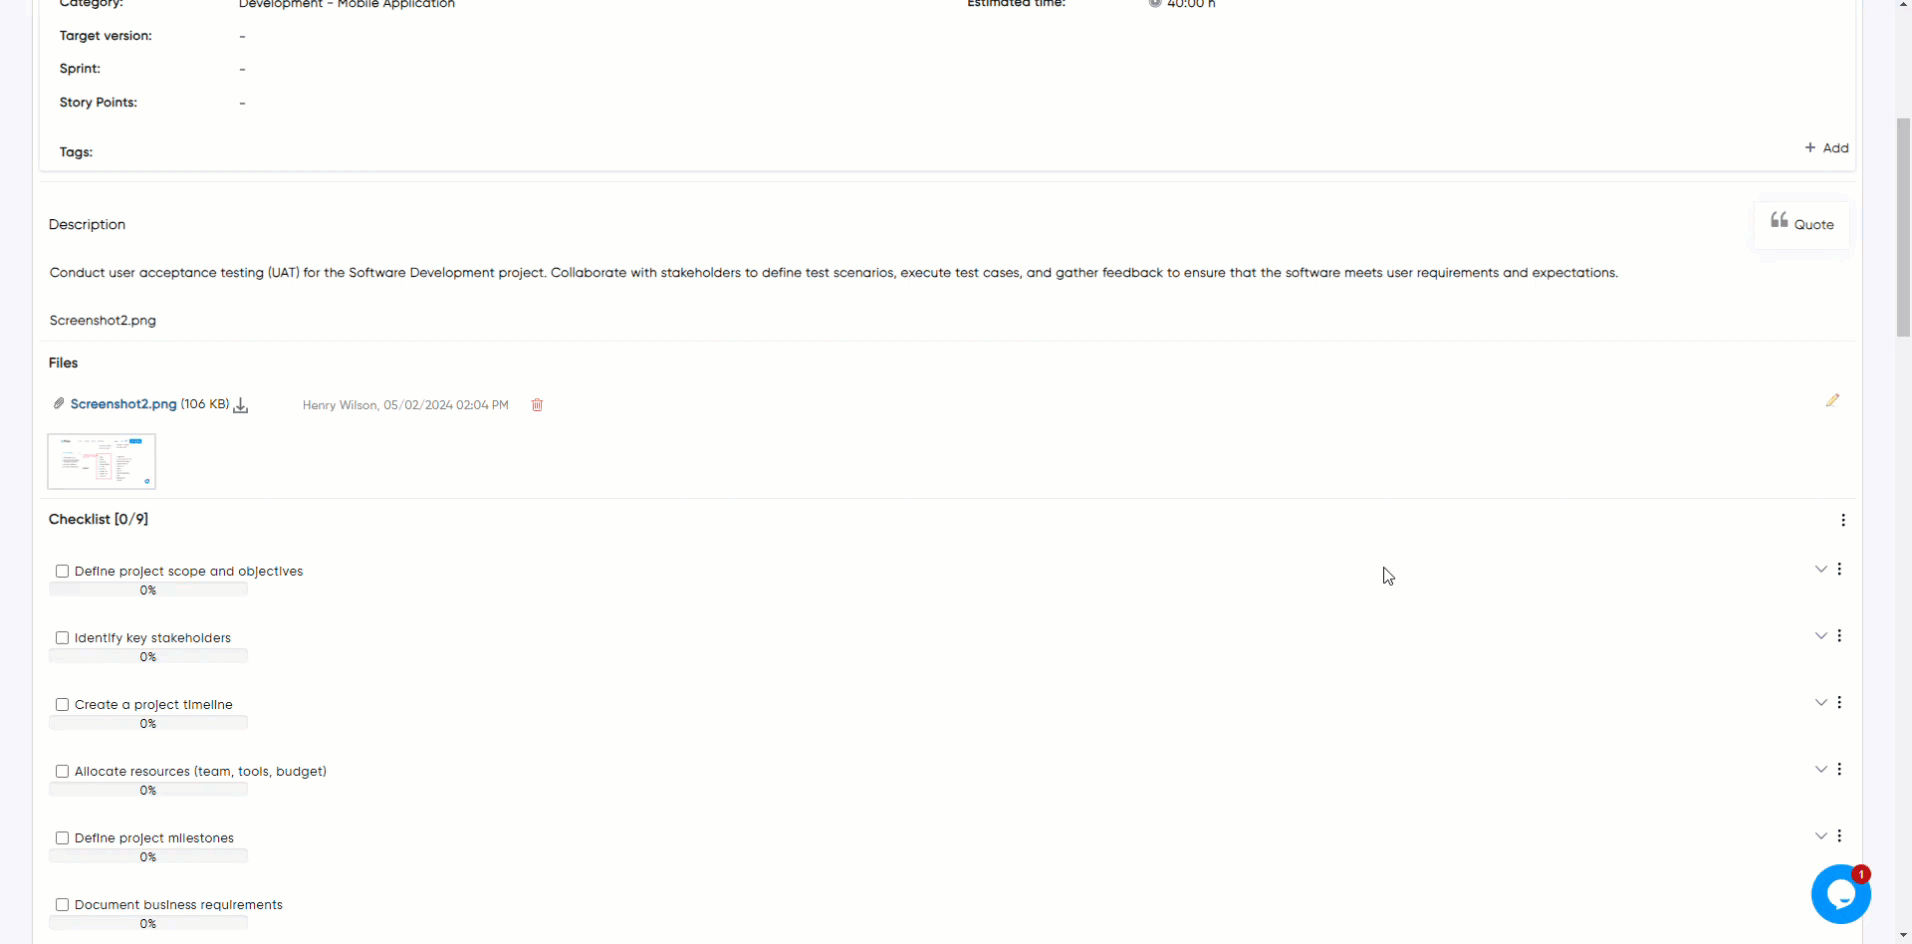
- Scroll down to the Checklist section or tab.
- Click the add button to create a new checklist item.
- Enter the title or description of the checklist item and enter to create checklist item.
- Also, have the feature to edit or delete the checklist and change the progress of the checklist.
How To #
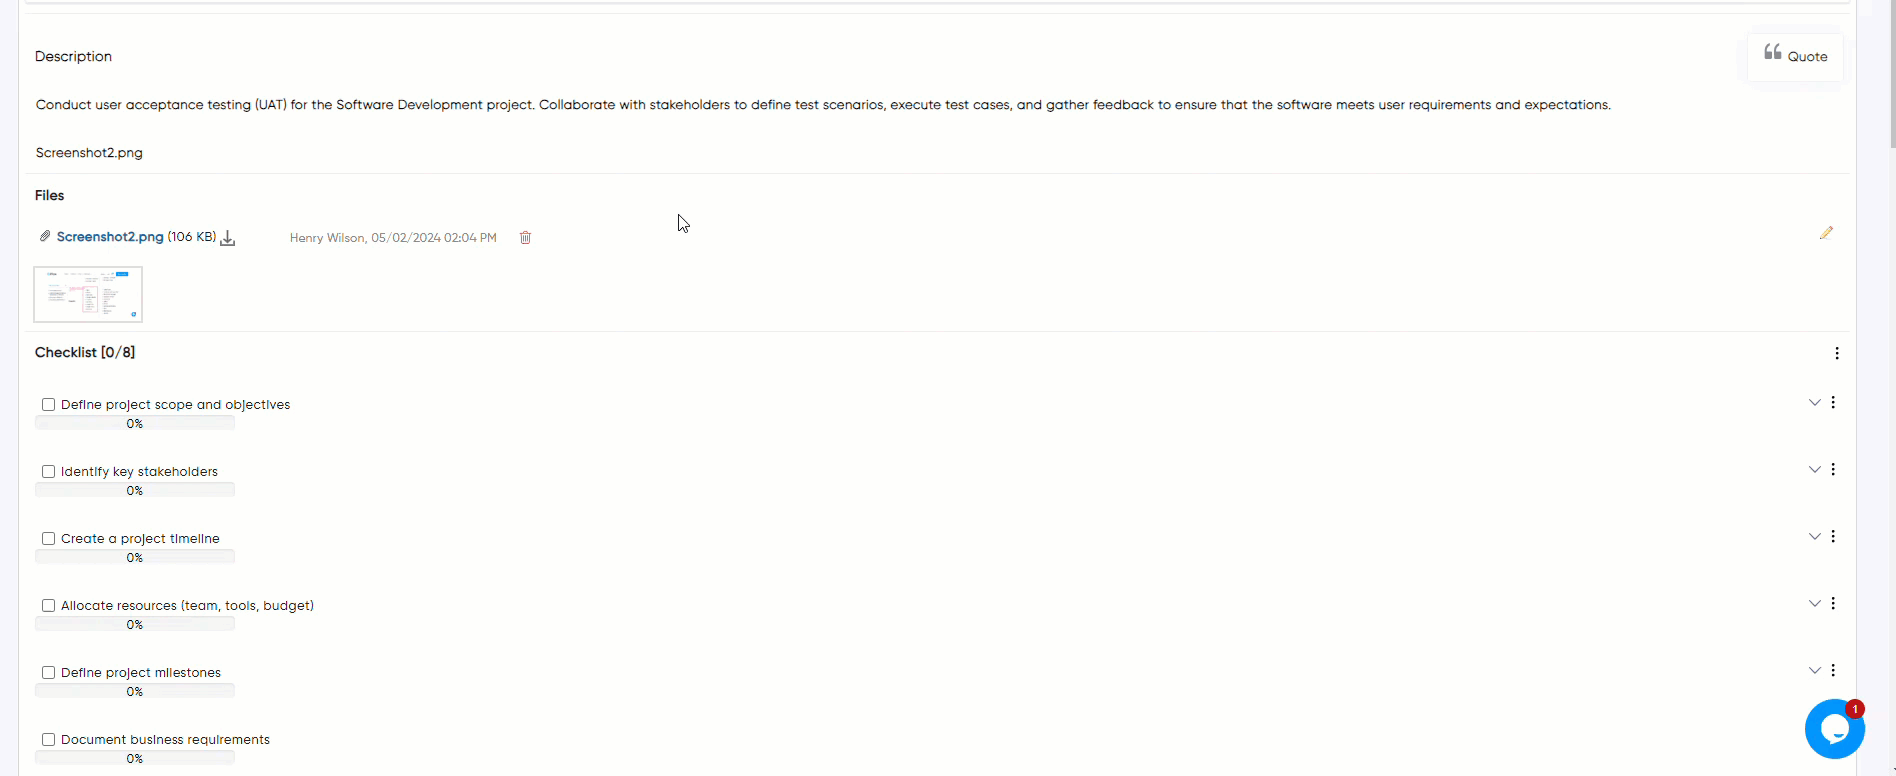
How to Create Checklist #
- Open the issue where you want to add a checklist.
- Scroll down to the Checklist section.
- Click the “Actions” button and choose “New checklist” to create a new checklist.
- Enter the title or description of the checklist.
- Press Enter to create the checklist.

How to Edit and Delete the Checklist #
- Open the checklist where you want to edit or delete the checklist.
- Locate the checklist or checklist item and click on the action button next to it. This will open a menu with options to add, edit, or delete the checklist or checklist item.
- To edit the title or description, click on the edit icon from the action menu. Modify the details as needed.
- Press Enter to save or update the edited checklist item.
- If you want to delete the checklist or checklist item, click on the trash bin icon or delete option from the action menu. Confirm the deletion if prompted.
How To Create Sub Checklist item #
- Locate the checklist and click on the action button next to it. This will open a menu with options to add, edit, or delete the checklist.
- Choose “Add” to create a new checklist item.
- Enter the title or description of the checklist item.
- Press Enter to create the checklist item.
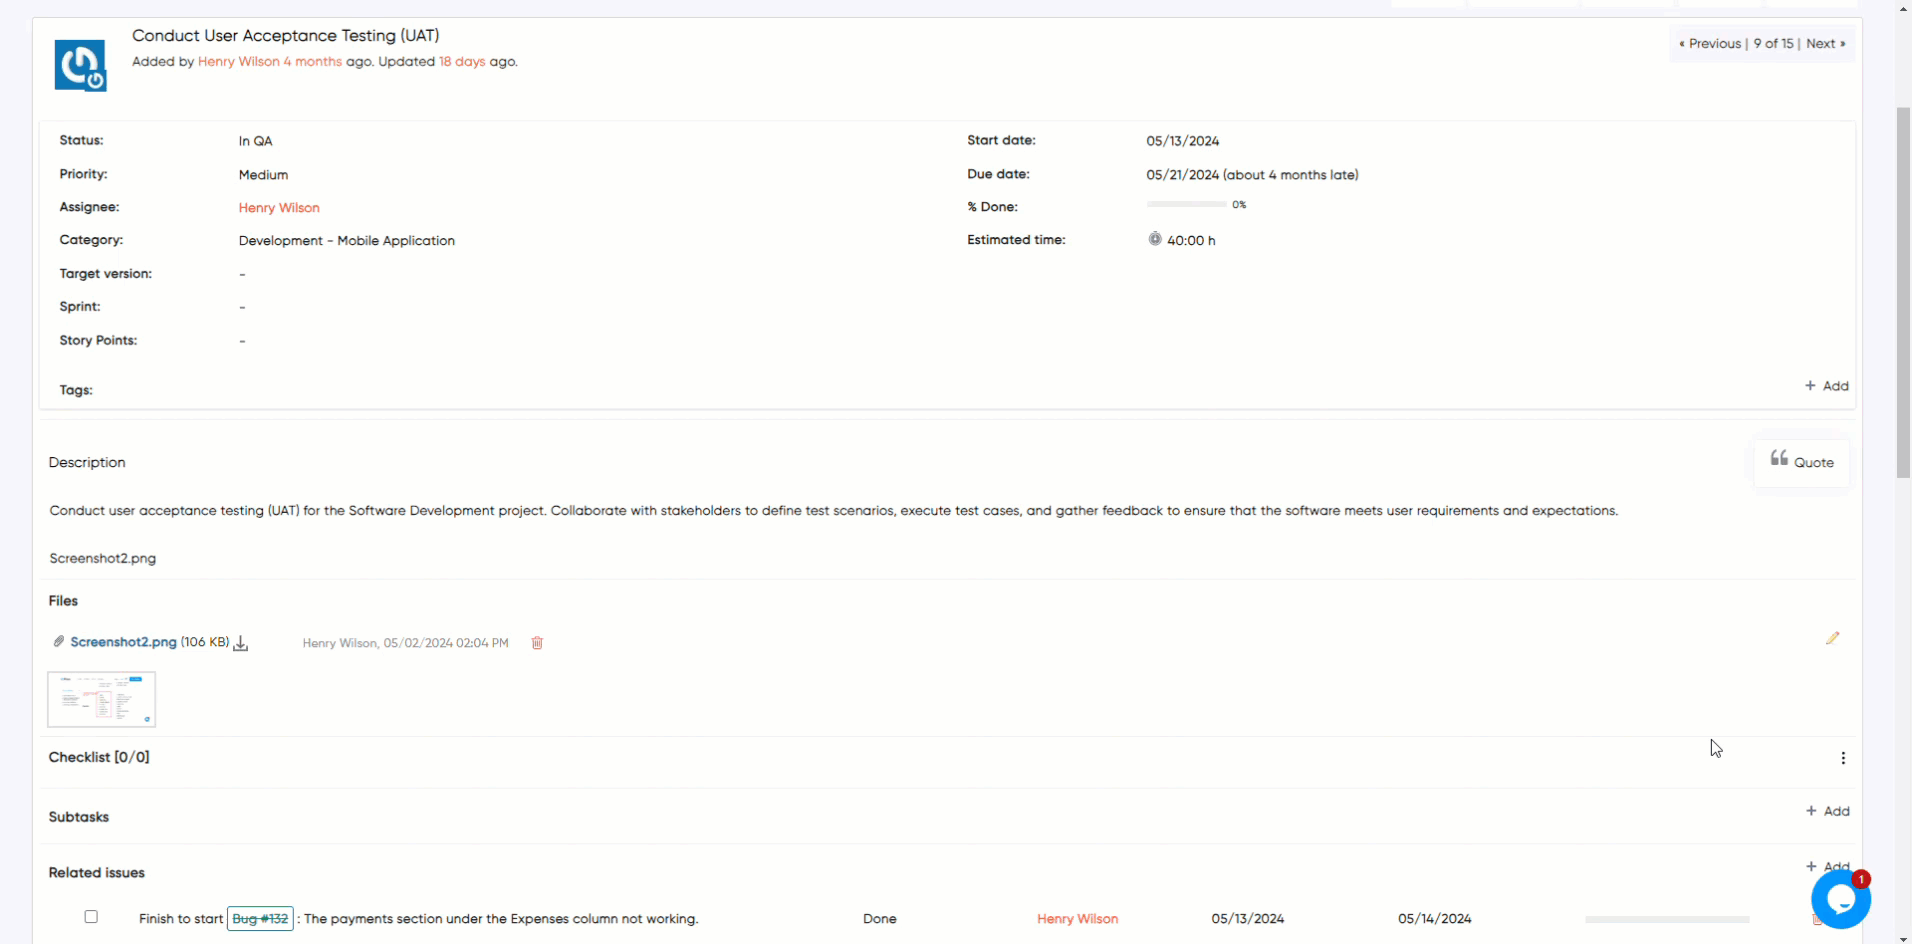
How to Change the Progress of Checklist #
- Locate the checklist item you want to modify.
- Click on the up-arrow icon next to the checklist to open its item lists.
- Select or click on the drop-down menu to change the progress status of the checklist item, such as “New, “In progress” or “Done”.
- Alternatively, you can simply check or uncheck the checkbox to mark the item as Done.
How to Create a Checklist Template #
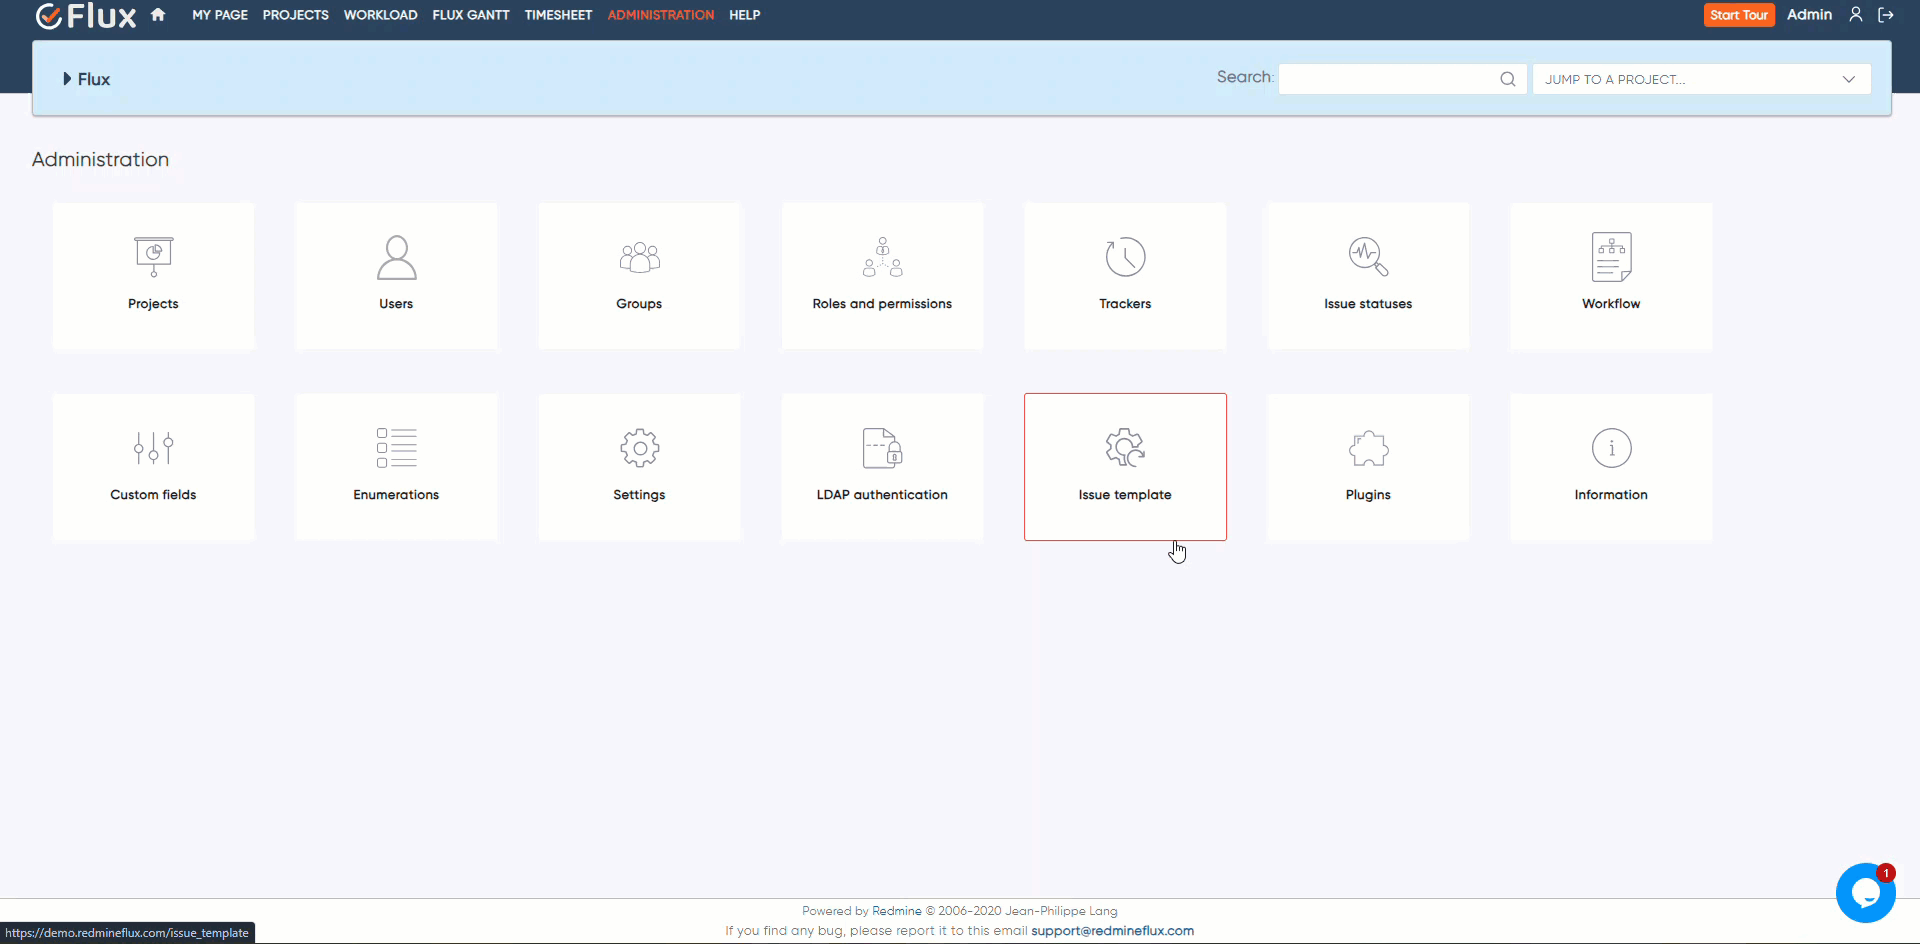
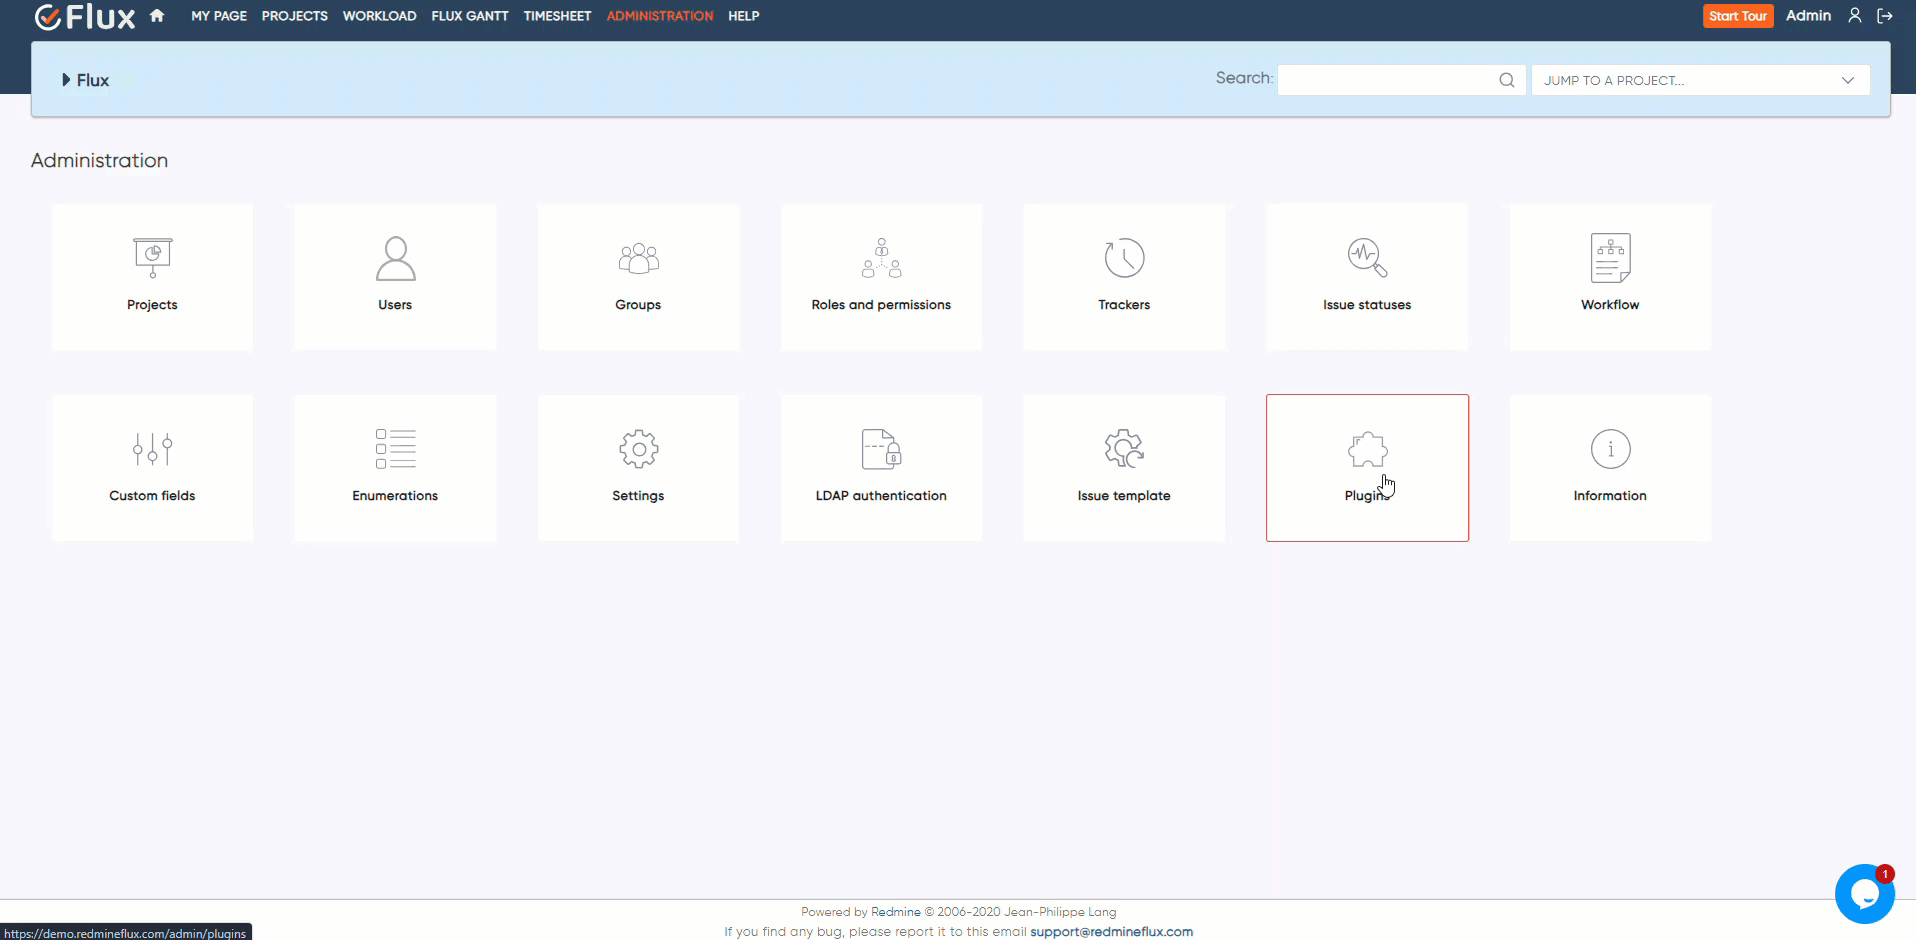
- Log in to Redmine with administrator, navigate to the administration page by clicking on the “Administration” link in the top menu.
- In the administration page, locate the “Plugins” section and click on it.
- Find the “Redmineflux Checklist Plugin” in the list of installed plugins and click on the “Configure” link next to it.
- On the plugin configuration page, in the “Checklist templates” tab you should find and click the “Add Checklist Template” button to create a new checklist template.
- Click on the dropdown menu to view the list of available trackers (e.g., Bug, Feature, Task, etc.). Choose the appropriate tracker based on the nature of the issue you are working on.
- Provide a name for your template in the Template Name field.
- Add the individual checklist for the template by entering each checklist’s title or description.
- To add more items, click the “Add checklist” button.
- Once you’ve added all the necessary checklist and details, click “Create Checklist template” to create the checklist template.
- After saving, the template will be available for use. You can apply it to issues as required.
How to Edit and Delete a Checklist Template #
- Log in to Redmine with administrator, navigate to the administration area by clicking on the “Administration” link in the top menu.
- In the administration area, locate the “Plugins” section and click on it.
- Find the “Redmineflux Checklist Plugin” in the list of installed plugins and click on the “Configure” link next to it.
- On the plugin configuration page, navigate to the Checklist Templates tab.
- Here, you will see a list of all existing checklist templates. Each template will have Edit and Delete buttons.
- Click the Edit button next to the template you want to modify.
- Make the necessary changes to the template name, description, or checklists, and click Save to update the template.
- Click the Delete button next to the template you wish to remove. Confirm the deletion if prompted.
- Note that deleting a template will remove it permanently from the system.
How to Create the Checklist from template #
- Open the issue where you want to add a checklist.
- Scroll down to the Checklist section.
- Click the “Actions” button and choose “Add from template” to create a new checklist item.
- Choose the template from which you have to create checklist.
How to Enable Block Issue Closing feature #
- Log in to Redmine with administrator, navigate to the administration page by clicking on the “Administration” link in the top menu.
- In the administration page, locate the “Plugins” section and click on it.
- Find the “Redmineflux Checklist Plugin” in the list of installed plugins and click on the “Configure” link next to it.
- On the plugin configuration page, in the general tab you should find checkbox related to “Block issue closing”.
- Check this box if you want to prevent an issue from being closed until all checklist items are completed. If any checklist item remains unfinished, the issue will not be allowed to close.
- After checking the option, make sure to save the configuration to apply the change.
Troubleshooting #
- Verify that the plugin is correctly installed and enabled.
- Check the Redmine logs for any error messages related to the plugin.
- Ensure that the plugin is compatible with your version of Redmine.
- If you made any changes to the plugin or Redmine configuration, clear the Redmine cache and restart the application.
- Disable any other plugins that modify the same fields or interfere with the inline editing feature. Test if the issue persists without those plugins.
- If you are experiencing a specific problem, consult the plugin’s documentation or seek assistance from the plugin’s developer or support channels.
Frequently Asked Questions (FAQ) #
Q: Can I create multiple checklists within a single issue?
A: Yes, with the Redmine Checklist Plugin, you can create multiple checklists within a single issue. Each checklist will be associated with the specific issue, allowing you to manage multiple sets of tasks or subtasks within one issue.
- Open the issue where you want to add a checklist.
- Scroll down to the Checklist section or tab.
- Click the “Add” button to create a new checklist item.
- Enter the title or description of the checklist item.
- Press enter to create the checklist item.
- Repeat the above steps to create additional checklists as needed.
Q: Can I track the progress of a checklist?
A: Yes, the Redmine Checklist Plugin includes a progress indicator in the form of a visual progress bar. The progress bar displays the percentage of completed checklist items, giving you an overview of the checklist’s progress.
Q: Is Redmine Flux’s Checklist plugin easy to use?
A: Yes, Redmine Flux’s Checklist Plugin offers an intuitive and easy-to-use interface making it the best choice for users with minimal technical knowledge. Just integrate the plugin into your Redmine software and start using it effortlessly.
Uninstallation of Plugin #
To uninstall the Redmine Flux Checklist Plugin, follow these steps
- Go to the Checklist Plugin directory in Redmine.
- Delete the entire Checklist Plugin directory from Redmine/plugins directory. This step removes the plugin files from your Redmine installation.
- If the plugin required a migration, run the following command to downgrade your database (make a db backup before):
Bundle exec rake redmine:plugins:migrate Name=plugin name VERSION=0 RAILS_ENV=production - Restart the Redmine server to see the changes.
- This will uninstall the Redmine Flux Checklist Plugin from Redmine.
Updates and Revisions #
- Plugin Updates: Keep track of plugin updates and new releases. Visit the official plugin website, plugin repository, Plugin updates may include bug fixes, performance improvements, or new features related to tag management.
- Documentation Revisions: Regularly review the plugin’s official documentation for any revisions or updates. Documentation may be revised to reflect changes in the plugin’s functionality, configuration options, or integration with the latest versions of Redmine.


